
Nut Slotting Jig, Cutting a Nut Slot by Hand
I’ve always liked cutting nut slots by hand. Don’t get me wrong, with the number of times I’ve done this task I’ve often thought about cutting it with a router. This is a perfect situation where sharp and accurate hand tools can be faster than a machine. It would also be very difficult to cut the slot that I use on my guitars without two separate router setups or a custom bit. The nut shape I use sits parallel to the fingerboard end, angled on its bottom surface, and snugged up against the side purfling lines of the headstock.
The most important cut to make when cutting the slot is the rear face. It needs to be straight and parallel to the fingerboard end. I used to use a bone shim (cut thinner than the final nut) that accommodated the thickness of the saw kerf. This was a fast and crude method that worked but I would have to be very focused about keeping the saw perpendicular and sometimes that shim would slip as I cut. Once I got the initial saw line started it was pretty straight forward (pun intended 😉 )
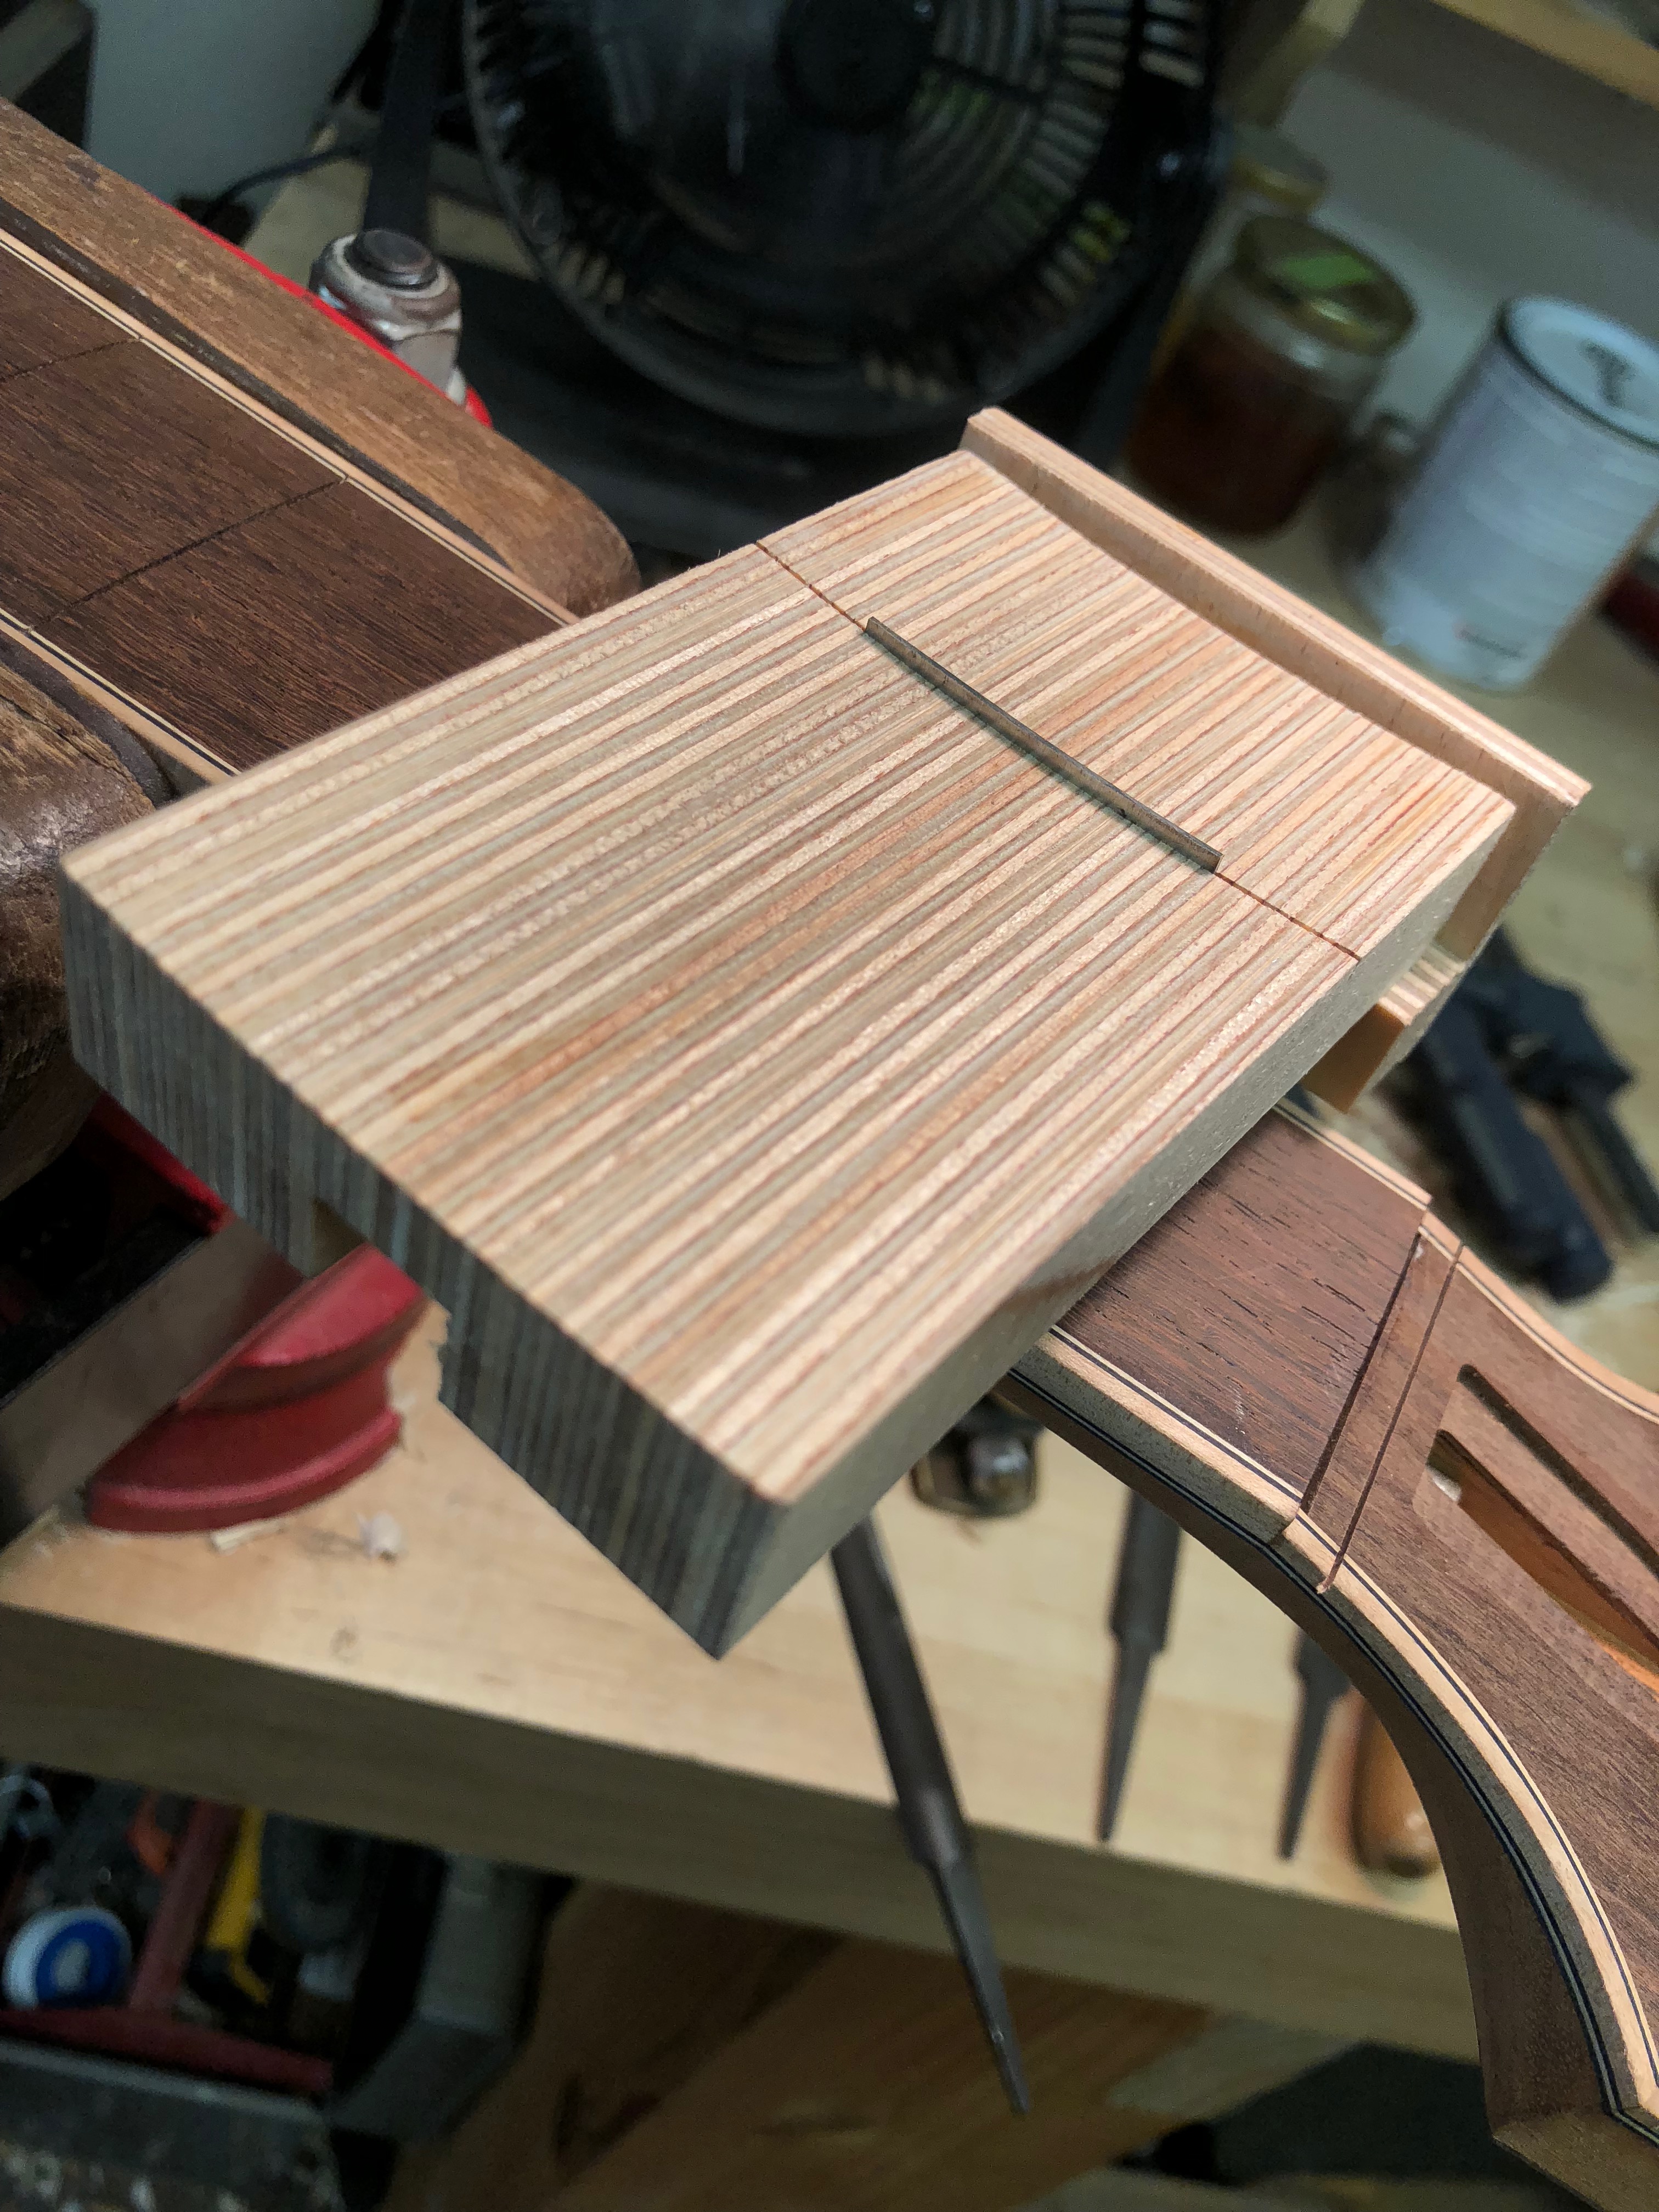
I decided to make a jig that would allow my saw to stay perfectly perpendicular to the top of the fingerboard as well as perfectly parallel to the fingerboard end. I’m glad that I put a couple hours into this jig because man, it is pure joy to use. It cuts that rear line perfectly and with complete control. The jig is basically a saw fence that references off the first fret slot. The saw is held to the fence with two magnets and the jig tightens by squeezing up against the fingerboard end and tightening down a set screw (I also used a clamp between the jig and the neck but that’s just for more peace of mind). The thickness of the nut slot is determined by the thickness of the jig arm that protrudes from the jig base. After the slot is cut a series of sharp chisels and an angled file quickly excavate the channel into a perfect home for a uniformed and tight nut.
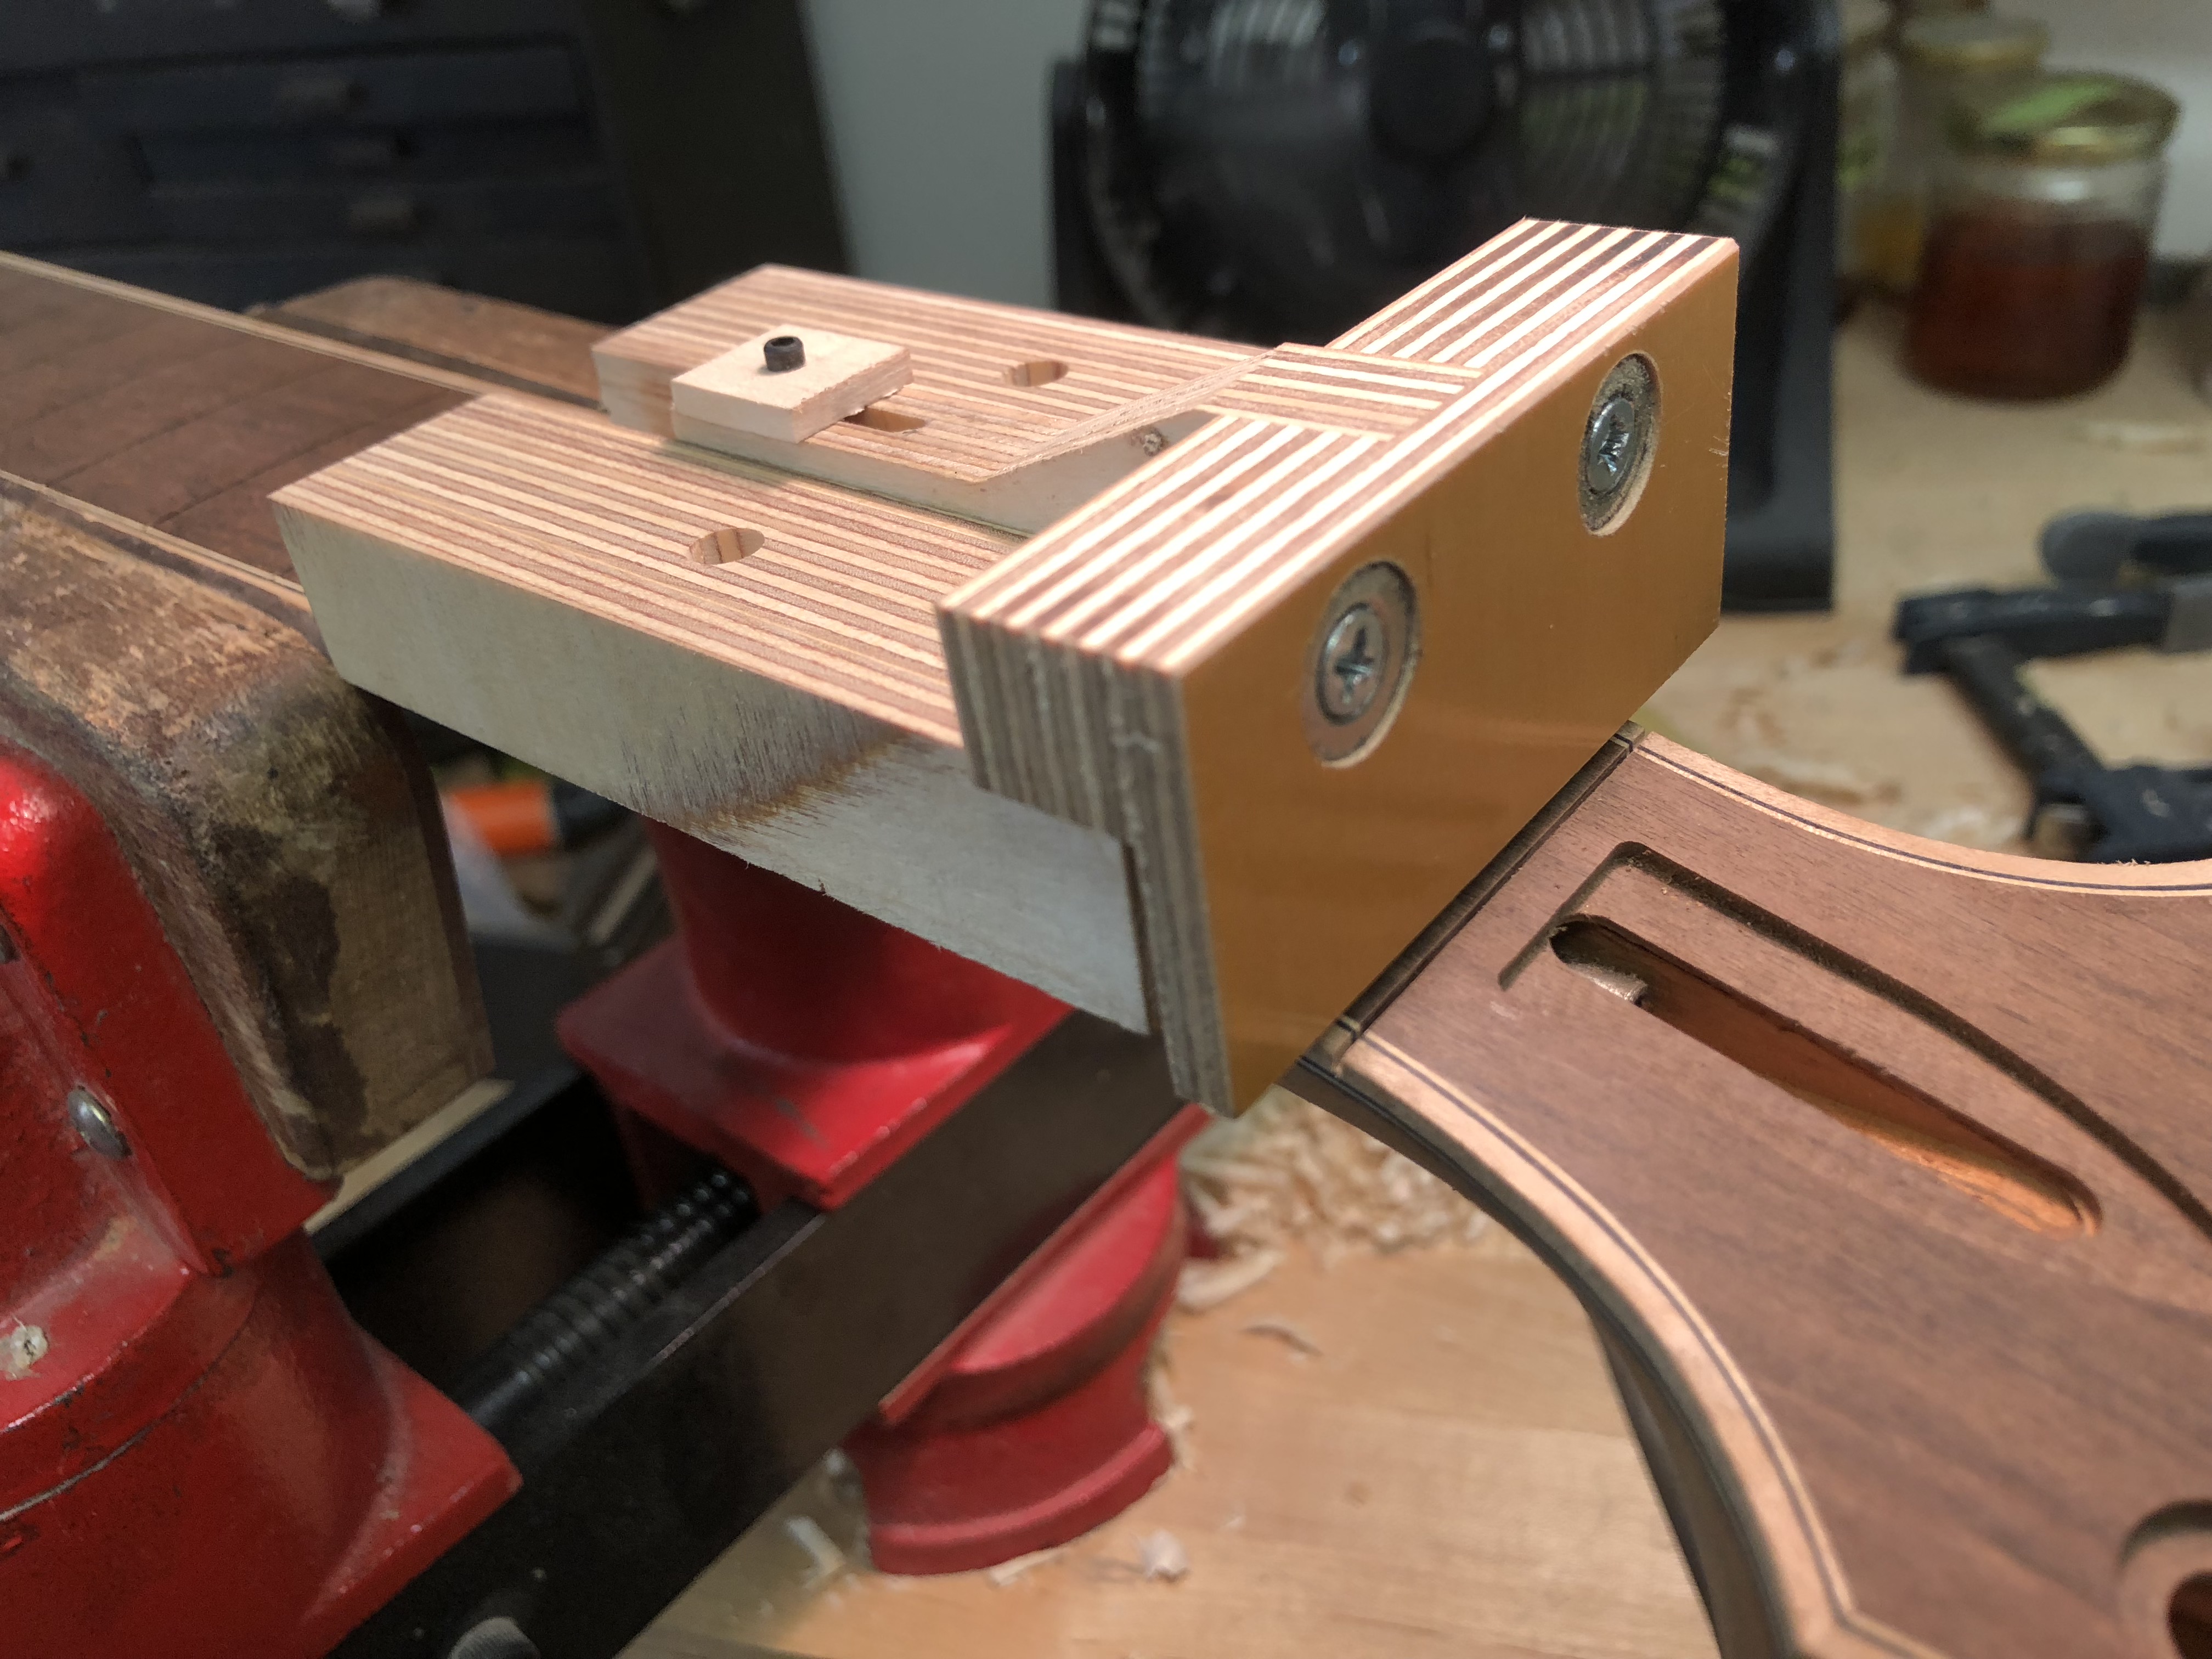
Nut Slotting Jig with adjustable magnetic fence
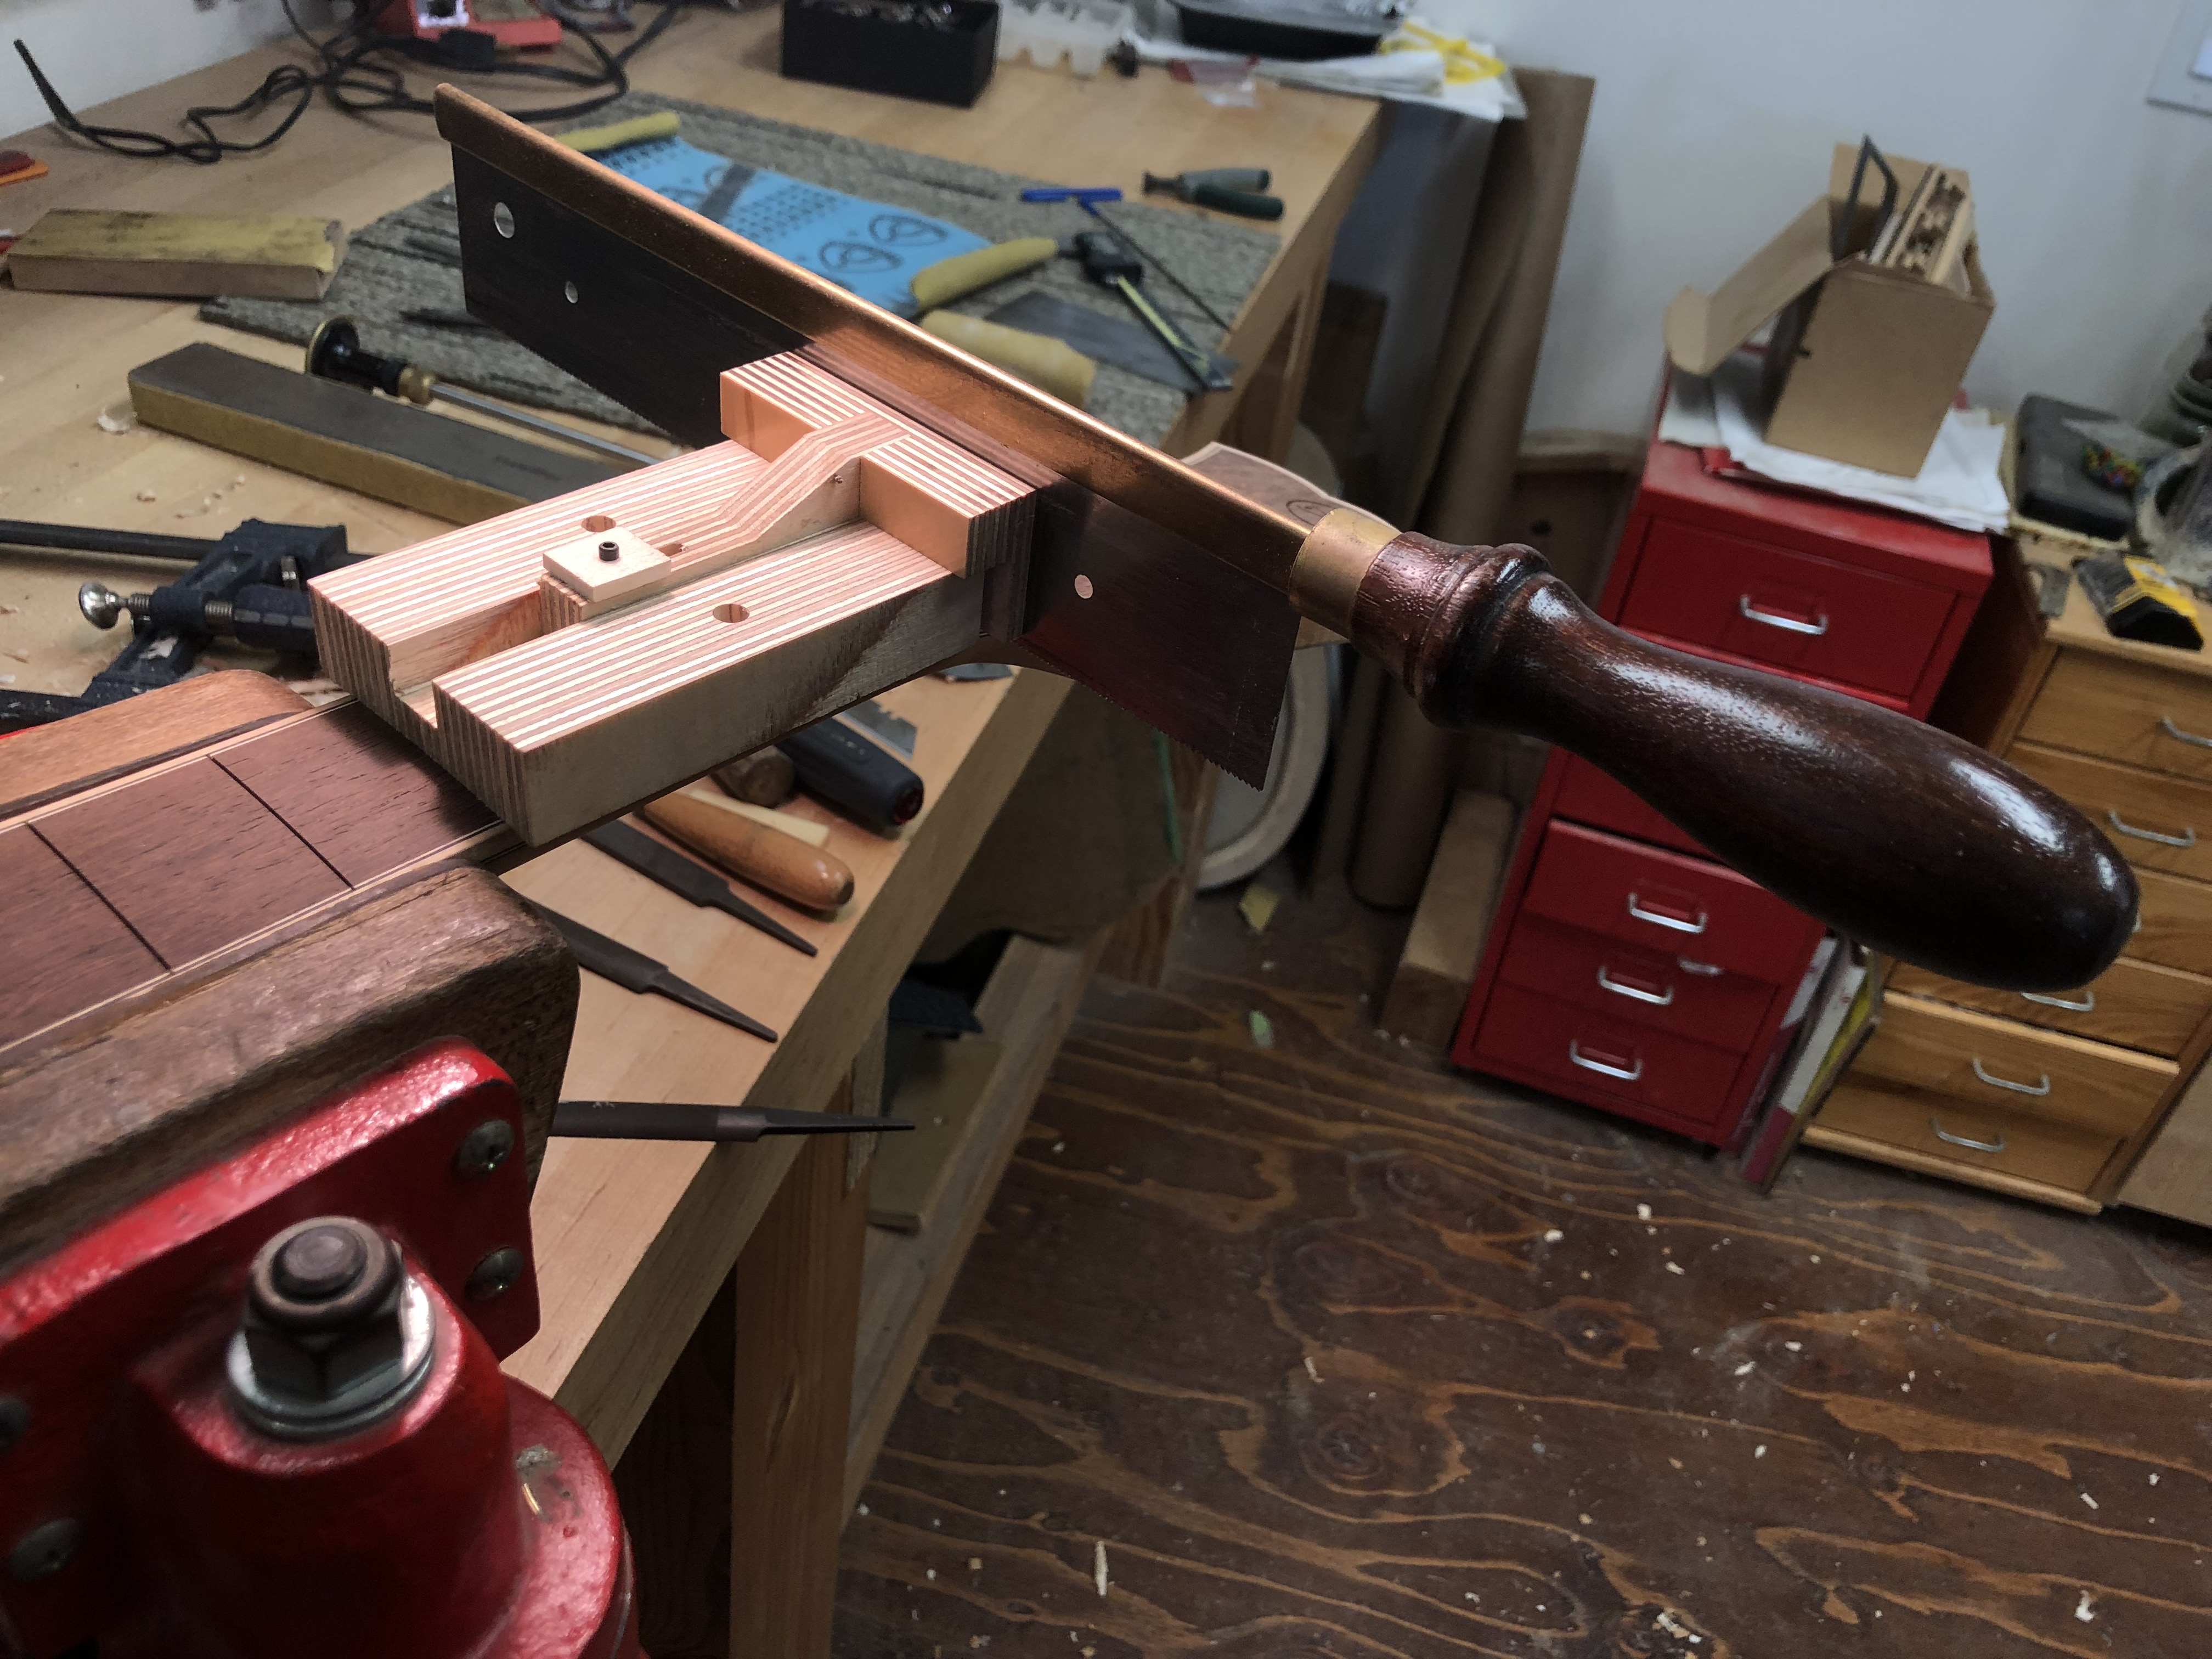
The two rare earth magnets hold the saw perfectly perpendicular and parallel while the blade slides across the jig face

The fretsaw with a kerf of about .023 plus the jigs overhang thickness of .20″ create a nut slot that is about .22″ thick
.023 shim that aligns jig to first fret slot. I also put a 12′ radius on the bottom
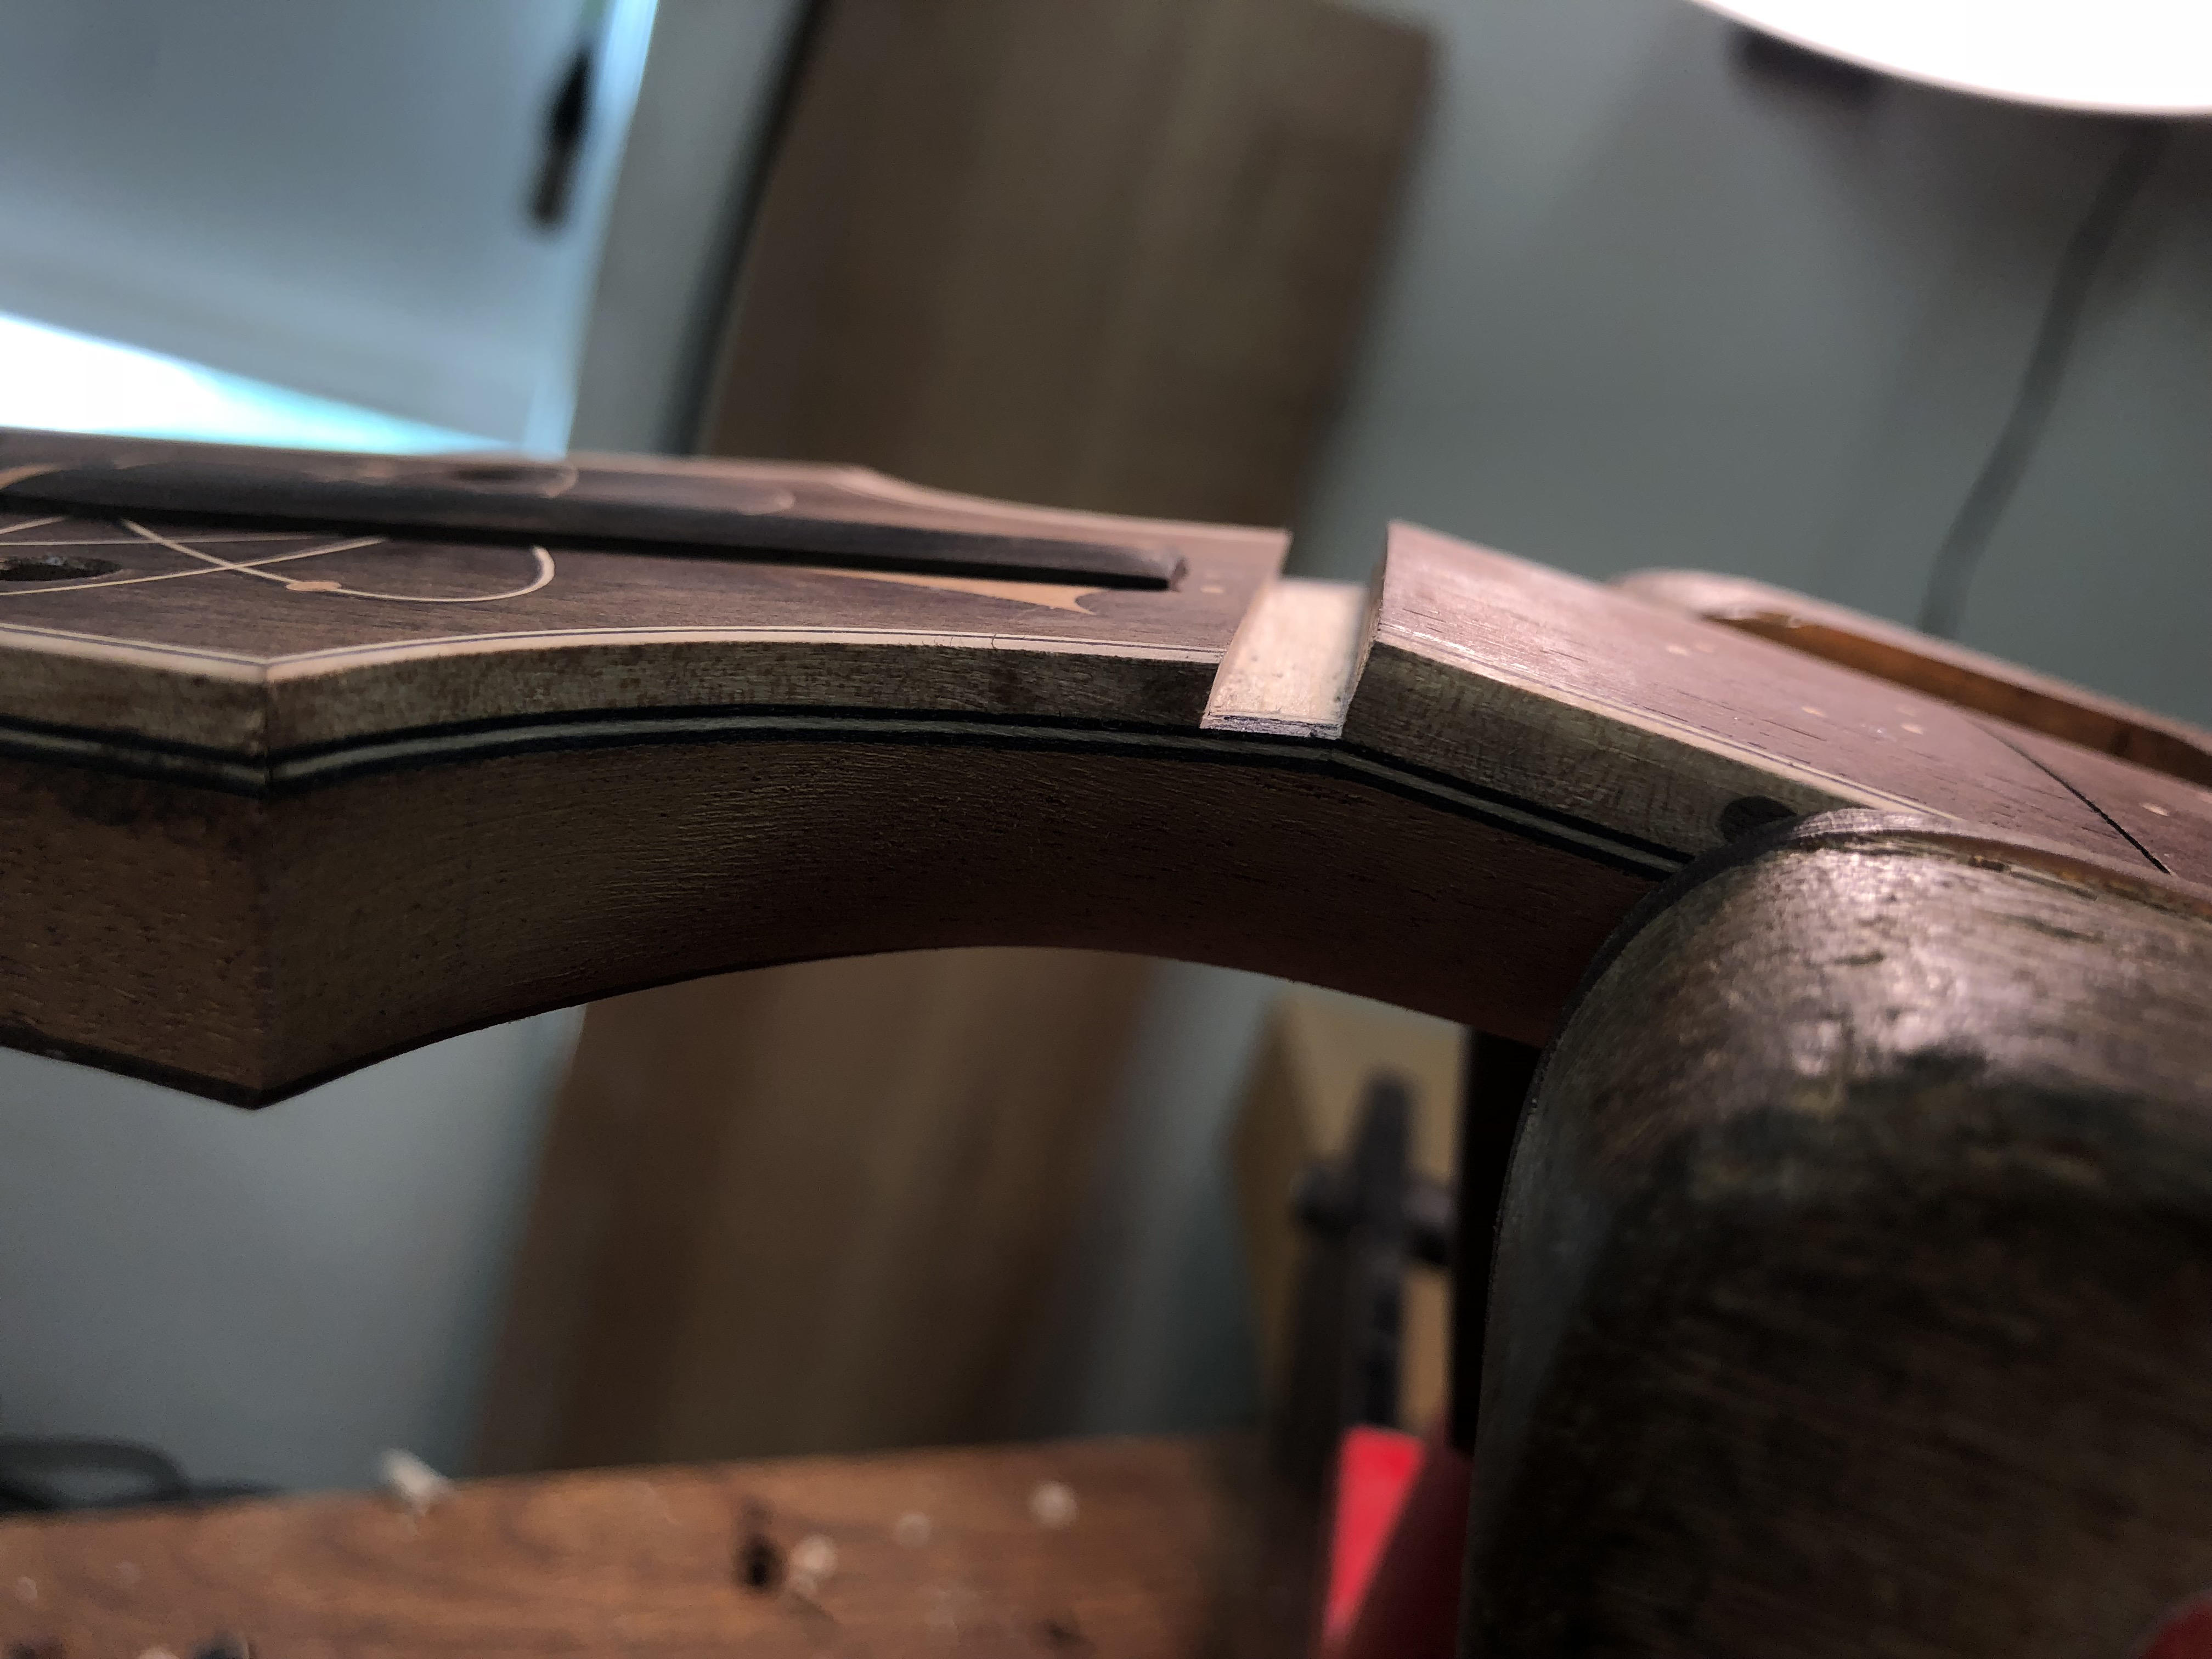
Excavated nut slot with parallel faces
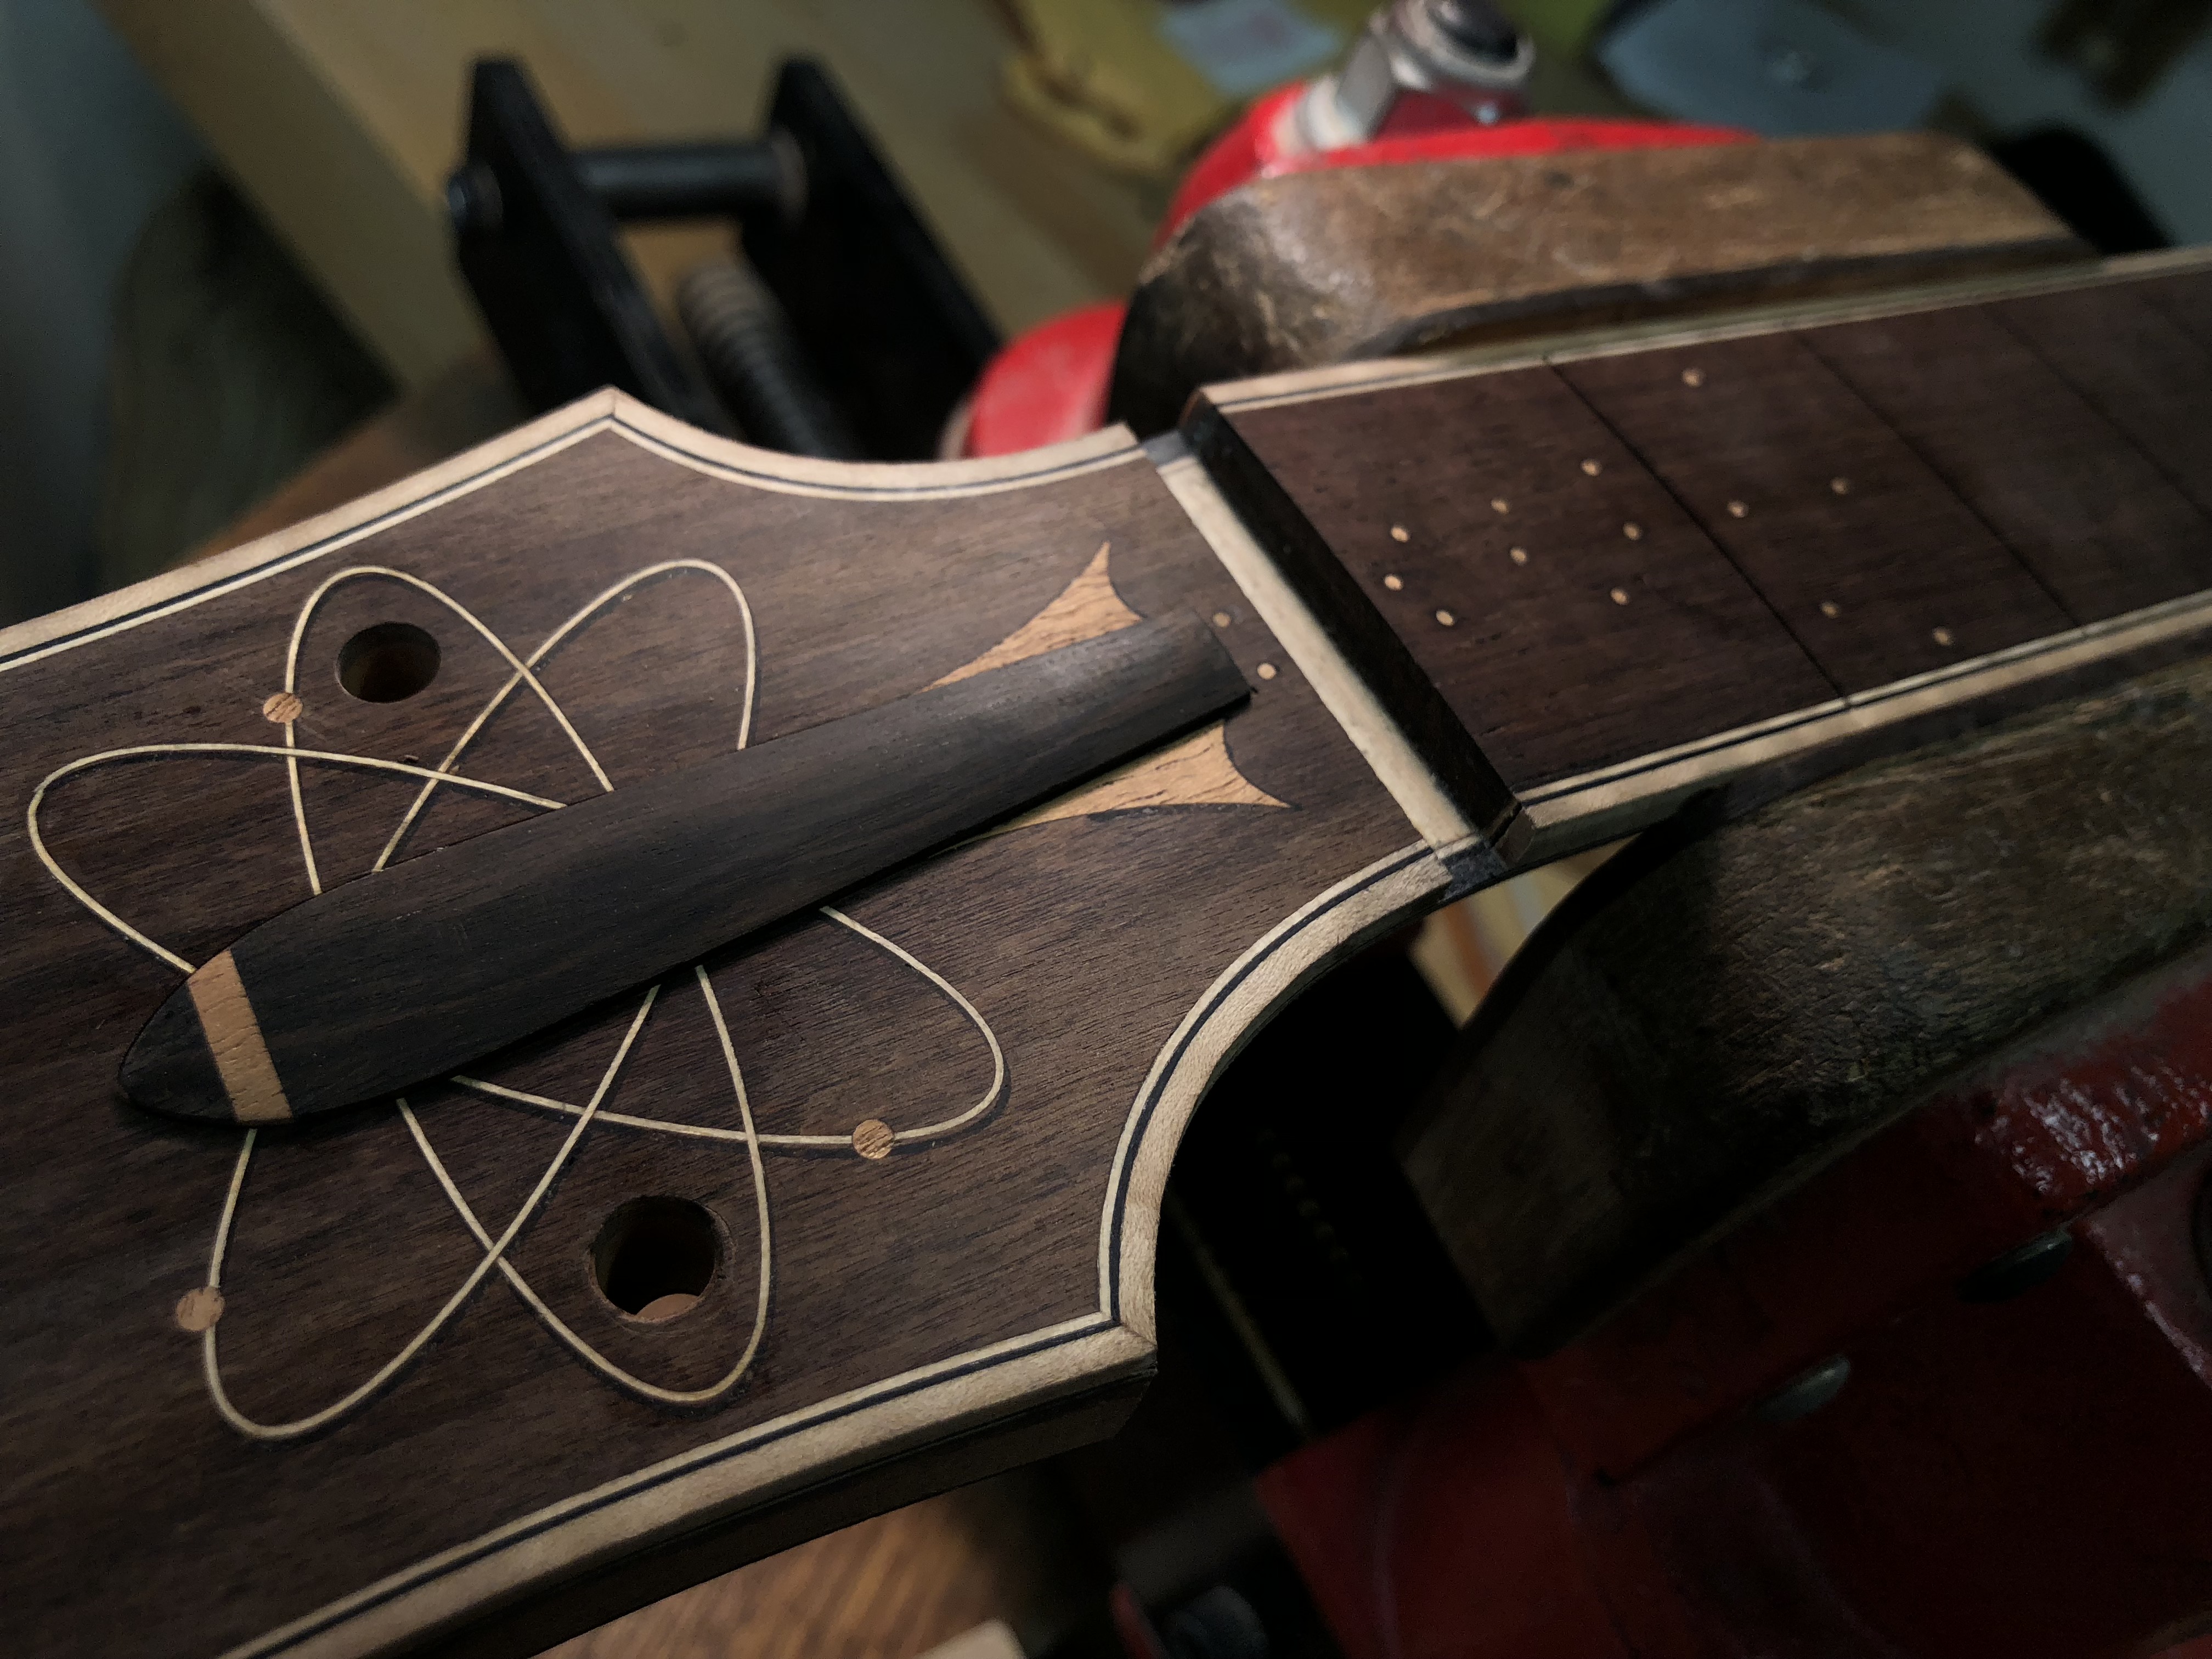
Nut slot and rockets
Hey Dan,just came across your nut slotting jig. i love it!
Very clever.
I’m slowly venturing into repairs.
I often come across nut slots that aren’t square and it becomes a headache…
Do you have a particular approach to squaring up a slot if it needs it?
Cheers.
Mark.
Hi Mark! That’s a good question. Sometimes you have to choose if its morally right to adjust an instrument or just the part you are adjusting to fit, this case the nut. For instance, if it is an important instrument that demands more respect than the average “off-the-shelf” guitar I would rather just address the nut to fit really well in the given situation. On the “off-the-shelf” instrument with a nut slot that is out of square, or un-uniform, I would use a file to bring it back. I have a small file, its not a triangle file (its more of the profile of a parallelogram) I ground down two opposite sides so that it only cuts on one face. This allows me to adjust one surface without cutting the bottom of the nut slot. I hope this helps! If you would like me to send you a picture of it just let me know. Thanks Mark! –Danny