Glueing a Glopleador, or Tap Plate, onto a Flamenco Guitar
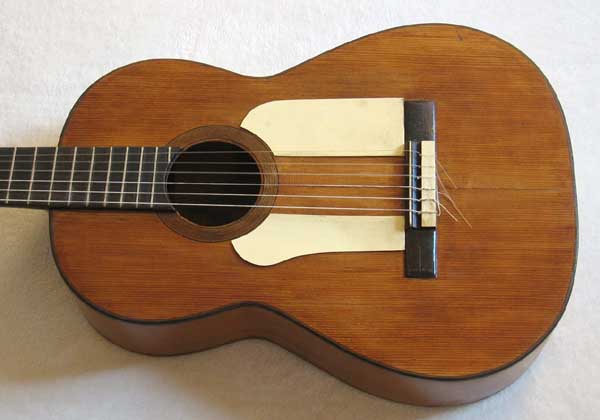
The Golpleador is a protective plate that is installed on the surface of a nylon string guitar. It allows a flamenco guitar player to tap on the top without causing damage to the instrument. For the non-flamenco player the golpleador is usually called a tap plate.
I’m writing this article for two reasons. The first reason is that there is not a lot of instructional information about installing one. When I was looking for information about gluing plastic onto the top of a delicate french polished top, I could only find comments and hints about different techniques, which left me a little in the dark. The second reason is to hopefully help out others so that they do not experience the same issues I faced. I must thank Michael Thames for answering a few questions that I had about the pros and cons of different techniques. After experiencing much drama with one method, I decided to do an experiment in order to test different adhesives. I examined how well they adhered, the ease of installation and cleanup, and most importantly the least damage to the guitar’s finish.
There are a two kinds of tap plates to consider, a self-adhesive plastic sheet, or a plastic sheet that is free of adhesive, in which case a glue of some type must be applied. For the best possible outcome and the least dampening effect to the voice of your instrument, I must say the latter method is the way to go. I first tried the self adhesive material and it was nerve-racking and left me with problems. It was also quite apparent at the amount of volume and clarity that was lost with the rubber cement like adhesive.
The correct way to install the self adhesive kind is to hinge the plate in the proper position with tape and use a water solution as you slowly lower the plastic in place while peeling away the plastic film. The water allows you some extra manipulation. Frank Ford, at Frets.com, has a very nice video of this process:
When done perfectly, this method is clean with a very transparent look but it does have a negative effect on your guitar. If it is to be removed for some reason, expect to spend a lot of time dissolving the glue with solvent and praying that it does not pull up anything besides the plastic. If done right, you’ll be left with what looks like rubber cement everywhere that is easily removed with Naptha.
When the tap plate is large enough, the rubbery glue used with these plates acts like a dampener. A plate is always going to affect the top’s ability to vibrate and move, but one that is not stiff will have a much greater impact on loss of tone.
Let me point out that with all these methods, on a french polished top, the evidence of a tap plate will most always be left behind.
I tried the self adhesive method first, which I have used for smaller tap plates and pick guards before with great results, but this was a larger tap plate and the results were less than perfect. I ended up having to remove it leaving me with a top that needed to be refinished. I was upset to say the least.
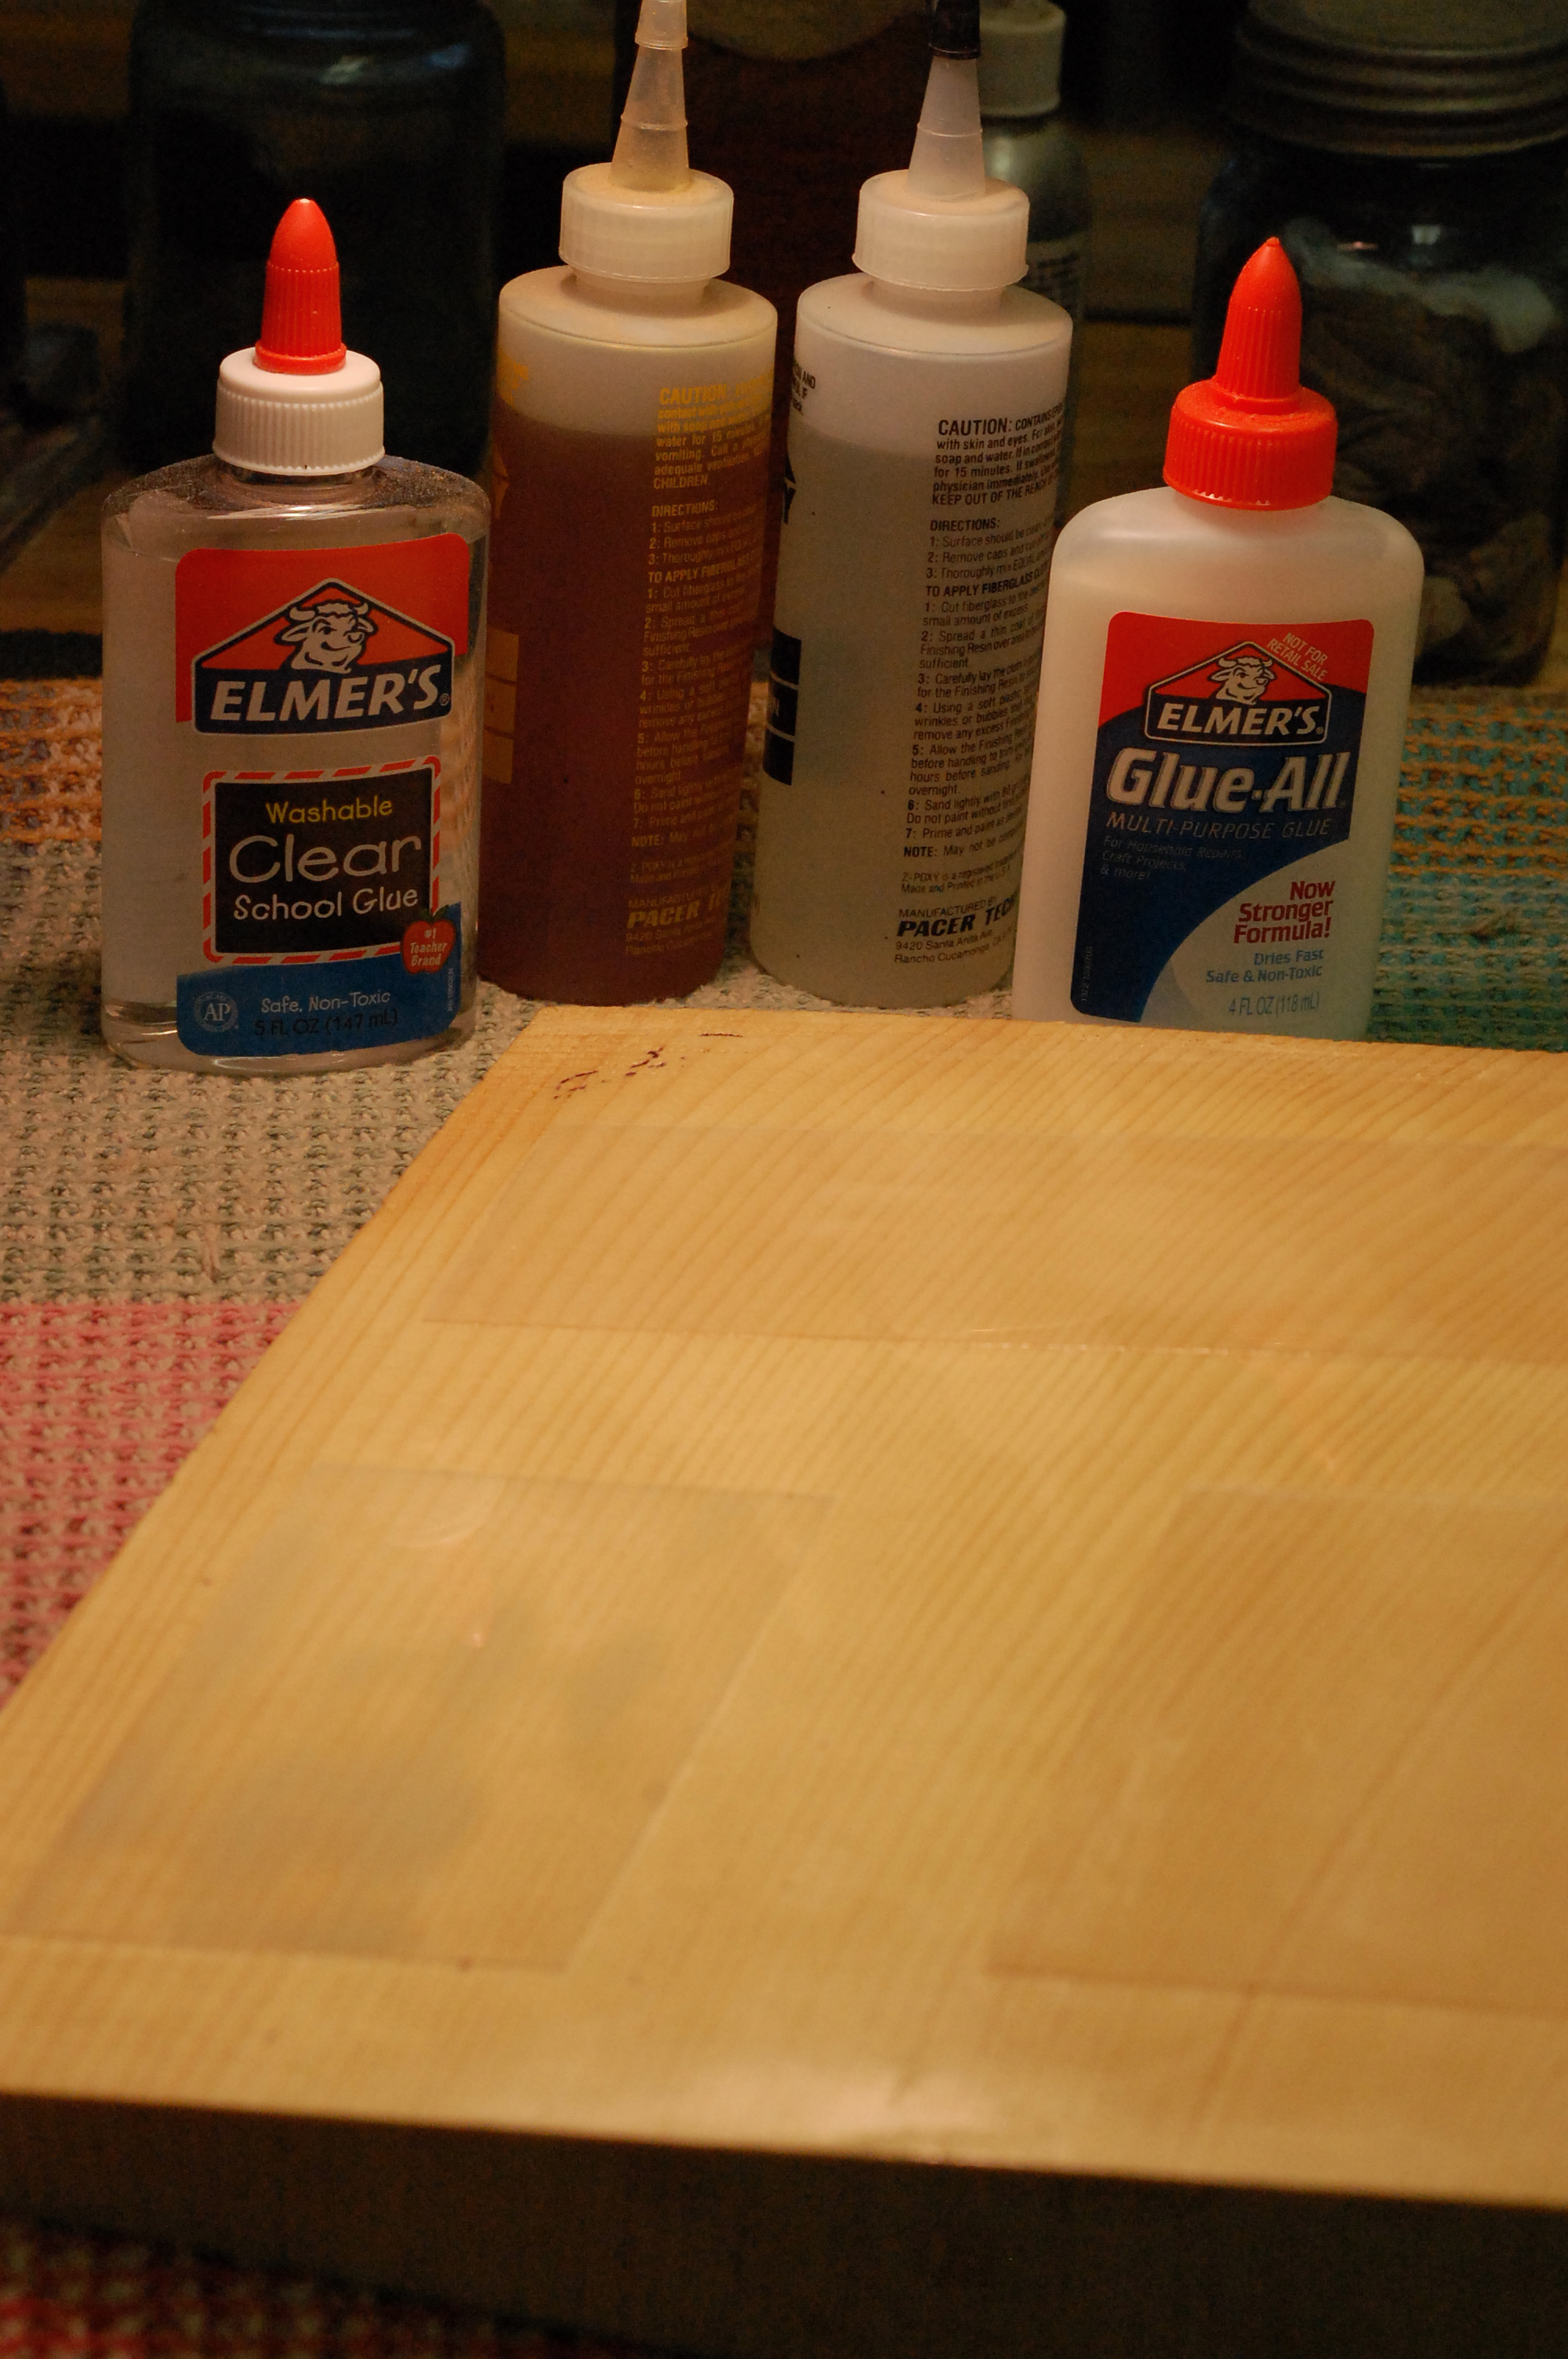
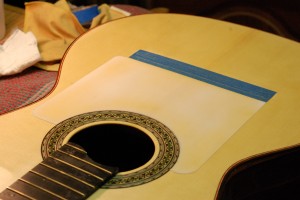
As a result I did an experiment with a .02″ and .03″ plastic film called Dura-Lar glued onto a french polished surface with three different types of glue, epoxy, Elmer’s white glue, and Elmer’s clear glue. The epoxy dried the clearest, was the easiest to squeeze out the air bubbles, dried the fastest, but was the hardest to clean up and posed a bigger threat in removal. The Elmers white glue was the easiest to clean, took the longest to dry, and was ok at squeezing out all the air bubbles. The clear Elmers was harder to clean up and was a little gummier than the white.
After each sample was dry I tried to peel them away to see how well they adhered. The epoxy was surprisingly easy to peel off. I used a finishing epoxy which might be the explanation of this but I was still shocked. The Elmer’s stuck on with a great amount of hold.
I decided that the Elmers white glue was the way to go, not only because it held so well, but because it was also completely soluble in water. Having a slower drying time too allows a lot of time for positioning and squeezing out all the air bubbles with a wine cork.
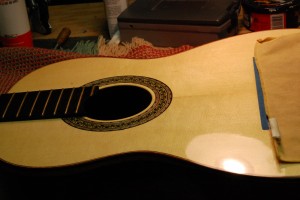
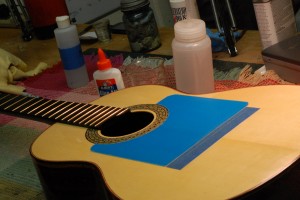
The trick was to get it in position and have the edges somewhat dry so that you can work on squeegeeing out all the air bubbles. Make sure to clean the top of the guitar really well with a light solvent before starting.
This started as a stressful project but ended with satisfaction and the desire to do it again!

Hi Dan:
Cool blog! I’m just getting into guitar building and want to thank you for the great info and the step by step, nuts and bolts approach. Thanks man!
Thanks so much Rob! I appreciate the comment!
Best,
Danny
Hello Dan,
Thanks for taking the time to post your experiences with tap plates. I make flamencos and classics, and play and teach flamenco, so this is a part of the process that I’m really interested in.
I used the sticky backed material (Mylar?) from Stew Mac until I had occasion to peel off a set of plates with the guitar strung up. The instrument immediately opened up, and sounded better. I agree with you that the gooey adhesive is probably the culprit, with its undoubted higher damping.
So I got looking around to see what might be the lowest damping materials, and found a source for .008″ (eight mil) acrylic—info on request. Acrylic is the hardest of the flexible plastics, so I figured that it is the lowest damping—no real evidence yet.
My next concern is the glue. LMI no longer can get their white instrument makers glue, supposedly harder than Elmers. I used WEST epoxy on one set before I thought about the replacement difficulties due to removal of the old glue. It certainly worked well sound wise.
My next experiment will be with the standard hide glue, as I know how hard it dries. I’m a bit suspicious about Elmers damping qualities—again, no data, just suspicion (;->)…
Cheers,
Brian