
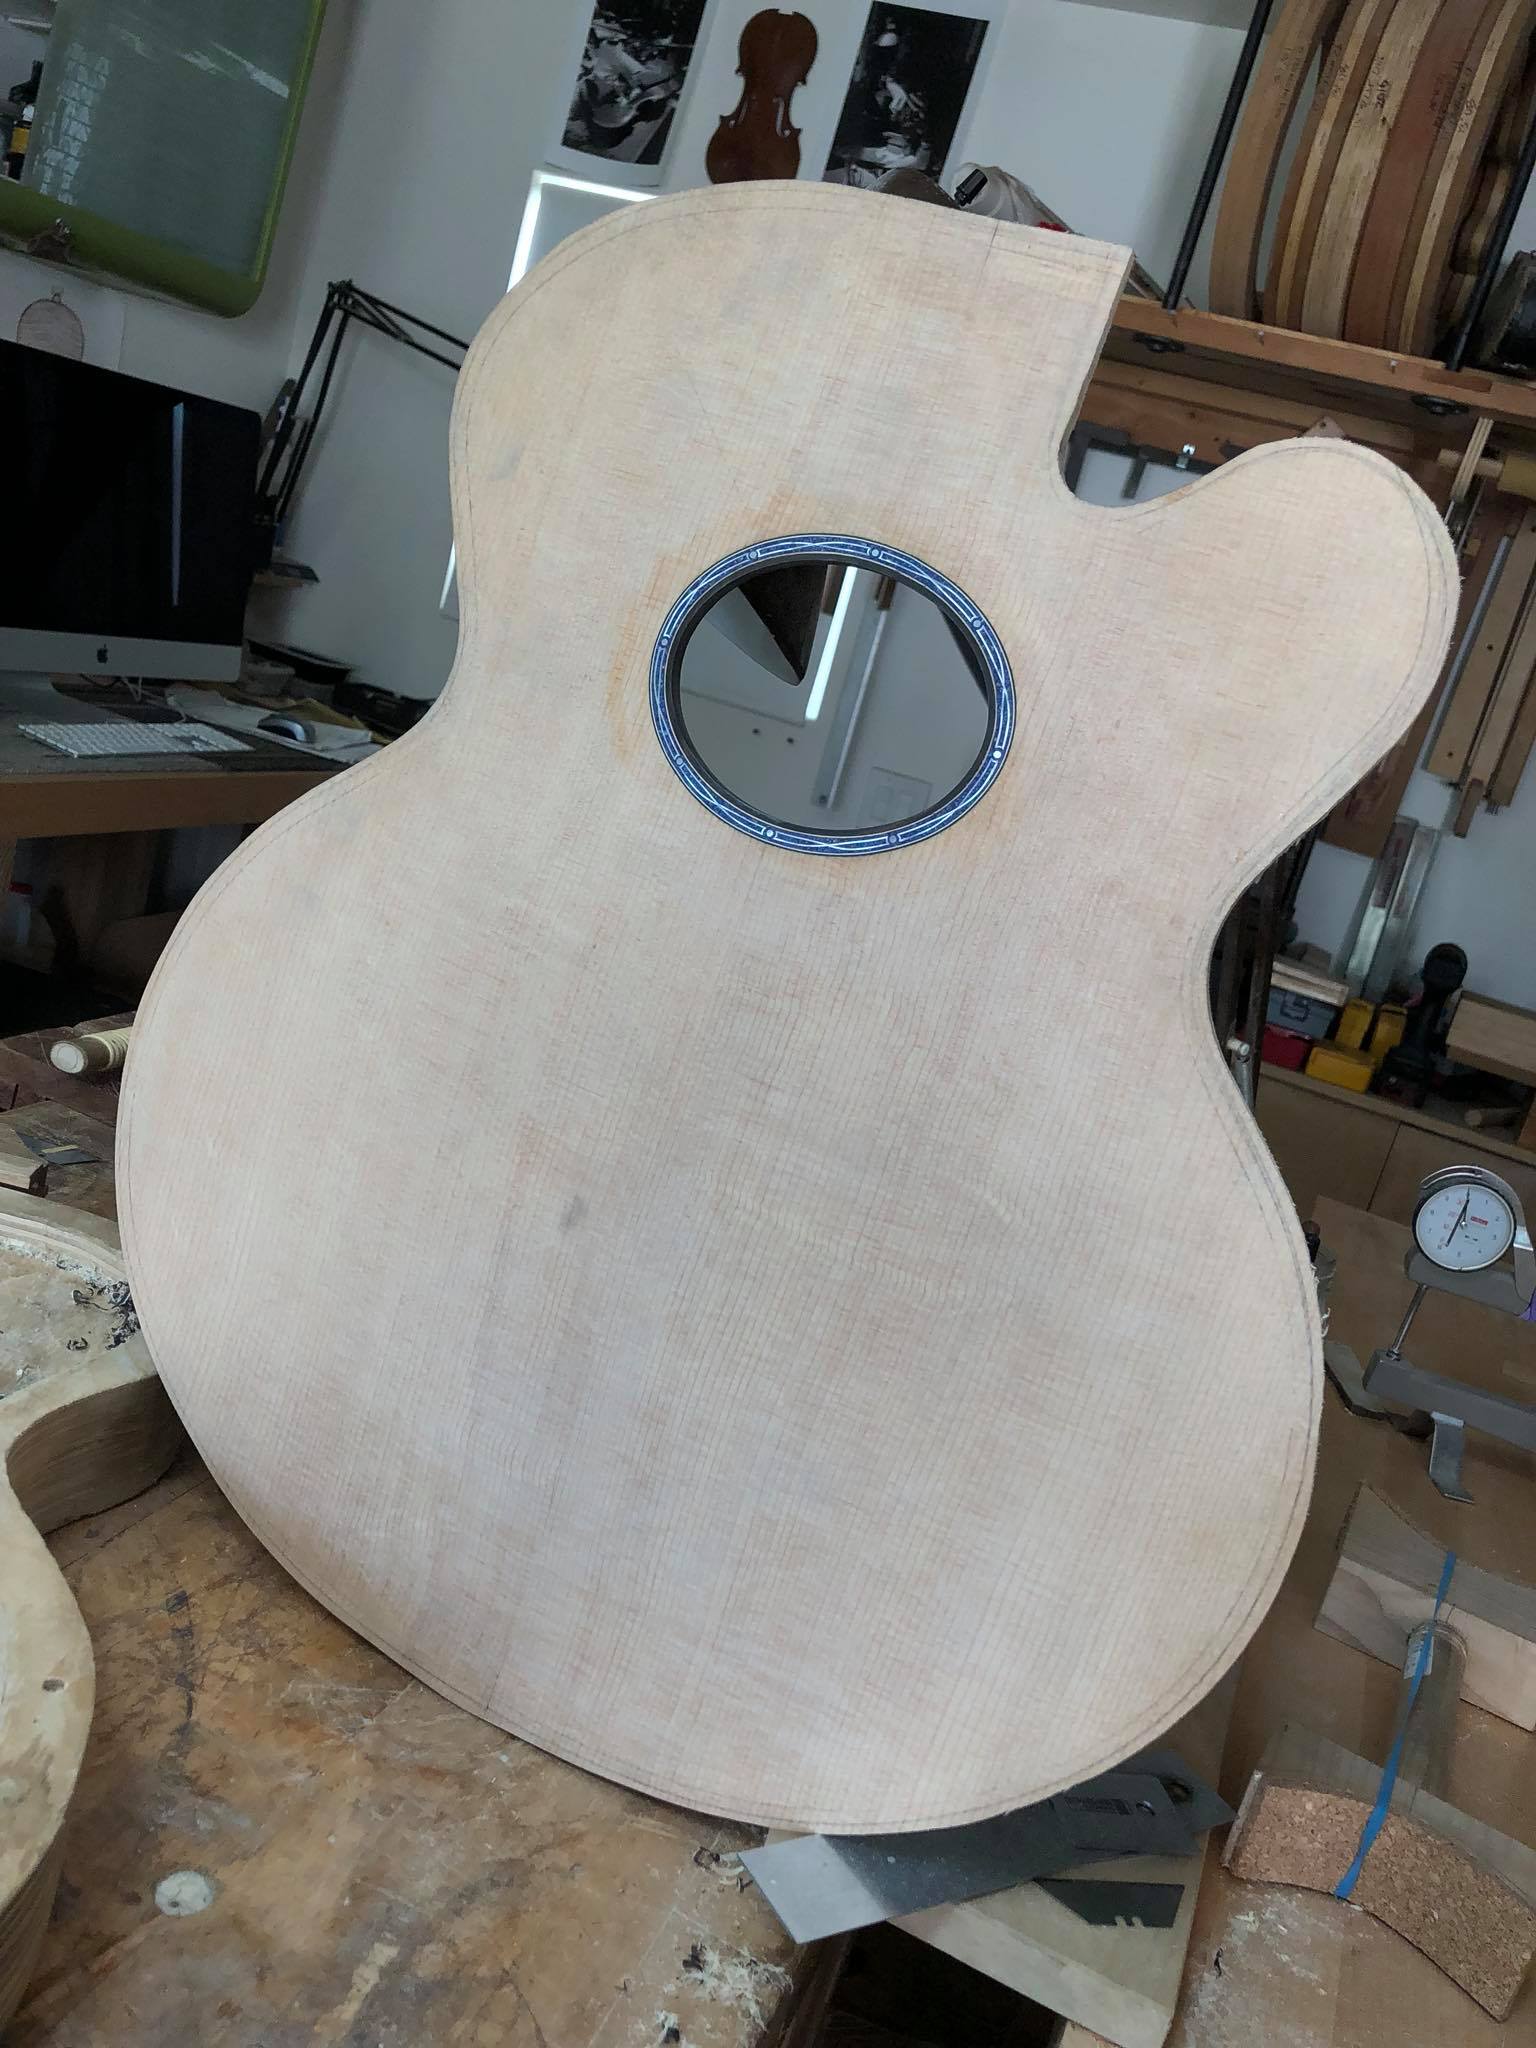
Construction of a Lapis Lazuli Inlayed Oval Hole Rosette
Here are some construction photos of a Chicagoan Oval Hole rosette being installed. This was the first time I’ve ever worked with a natural stone before. I never would have thought of using Lapis Lazuli but my client showed me some work done by another maker and it just looked too cool to pass up. That deep color blue was just so beautiful and tasteful; not too gaudy or out of place. I thought to myself, it couldn’t be that difficult! 😉
This method is completely cut by hand. I do use CAD work for layout and cutting the delicate mother of pearl weave but the rosette channel as it wraps around the complex surface of the top would be nearly impossible to do with a router. This whole process took about a week which included long drying times. These types of projects are fun to me as they are mini projects within the greater scope of the entire process of the guitar construction. It’s projects like these that remind me how grateful it is to be able to work closely with my clients and soak up as much inspiration from them as I can. I can’t wait to see how it all looks under a finish.
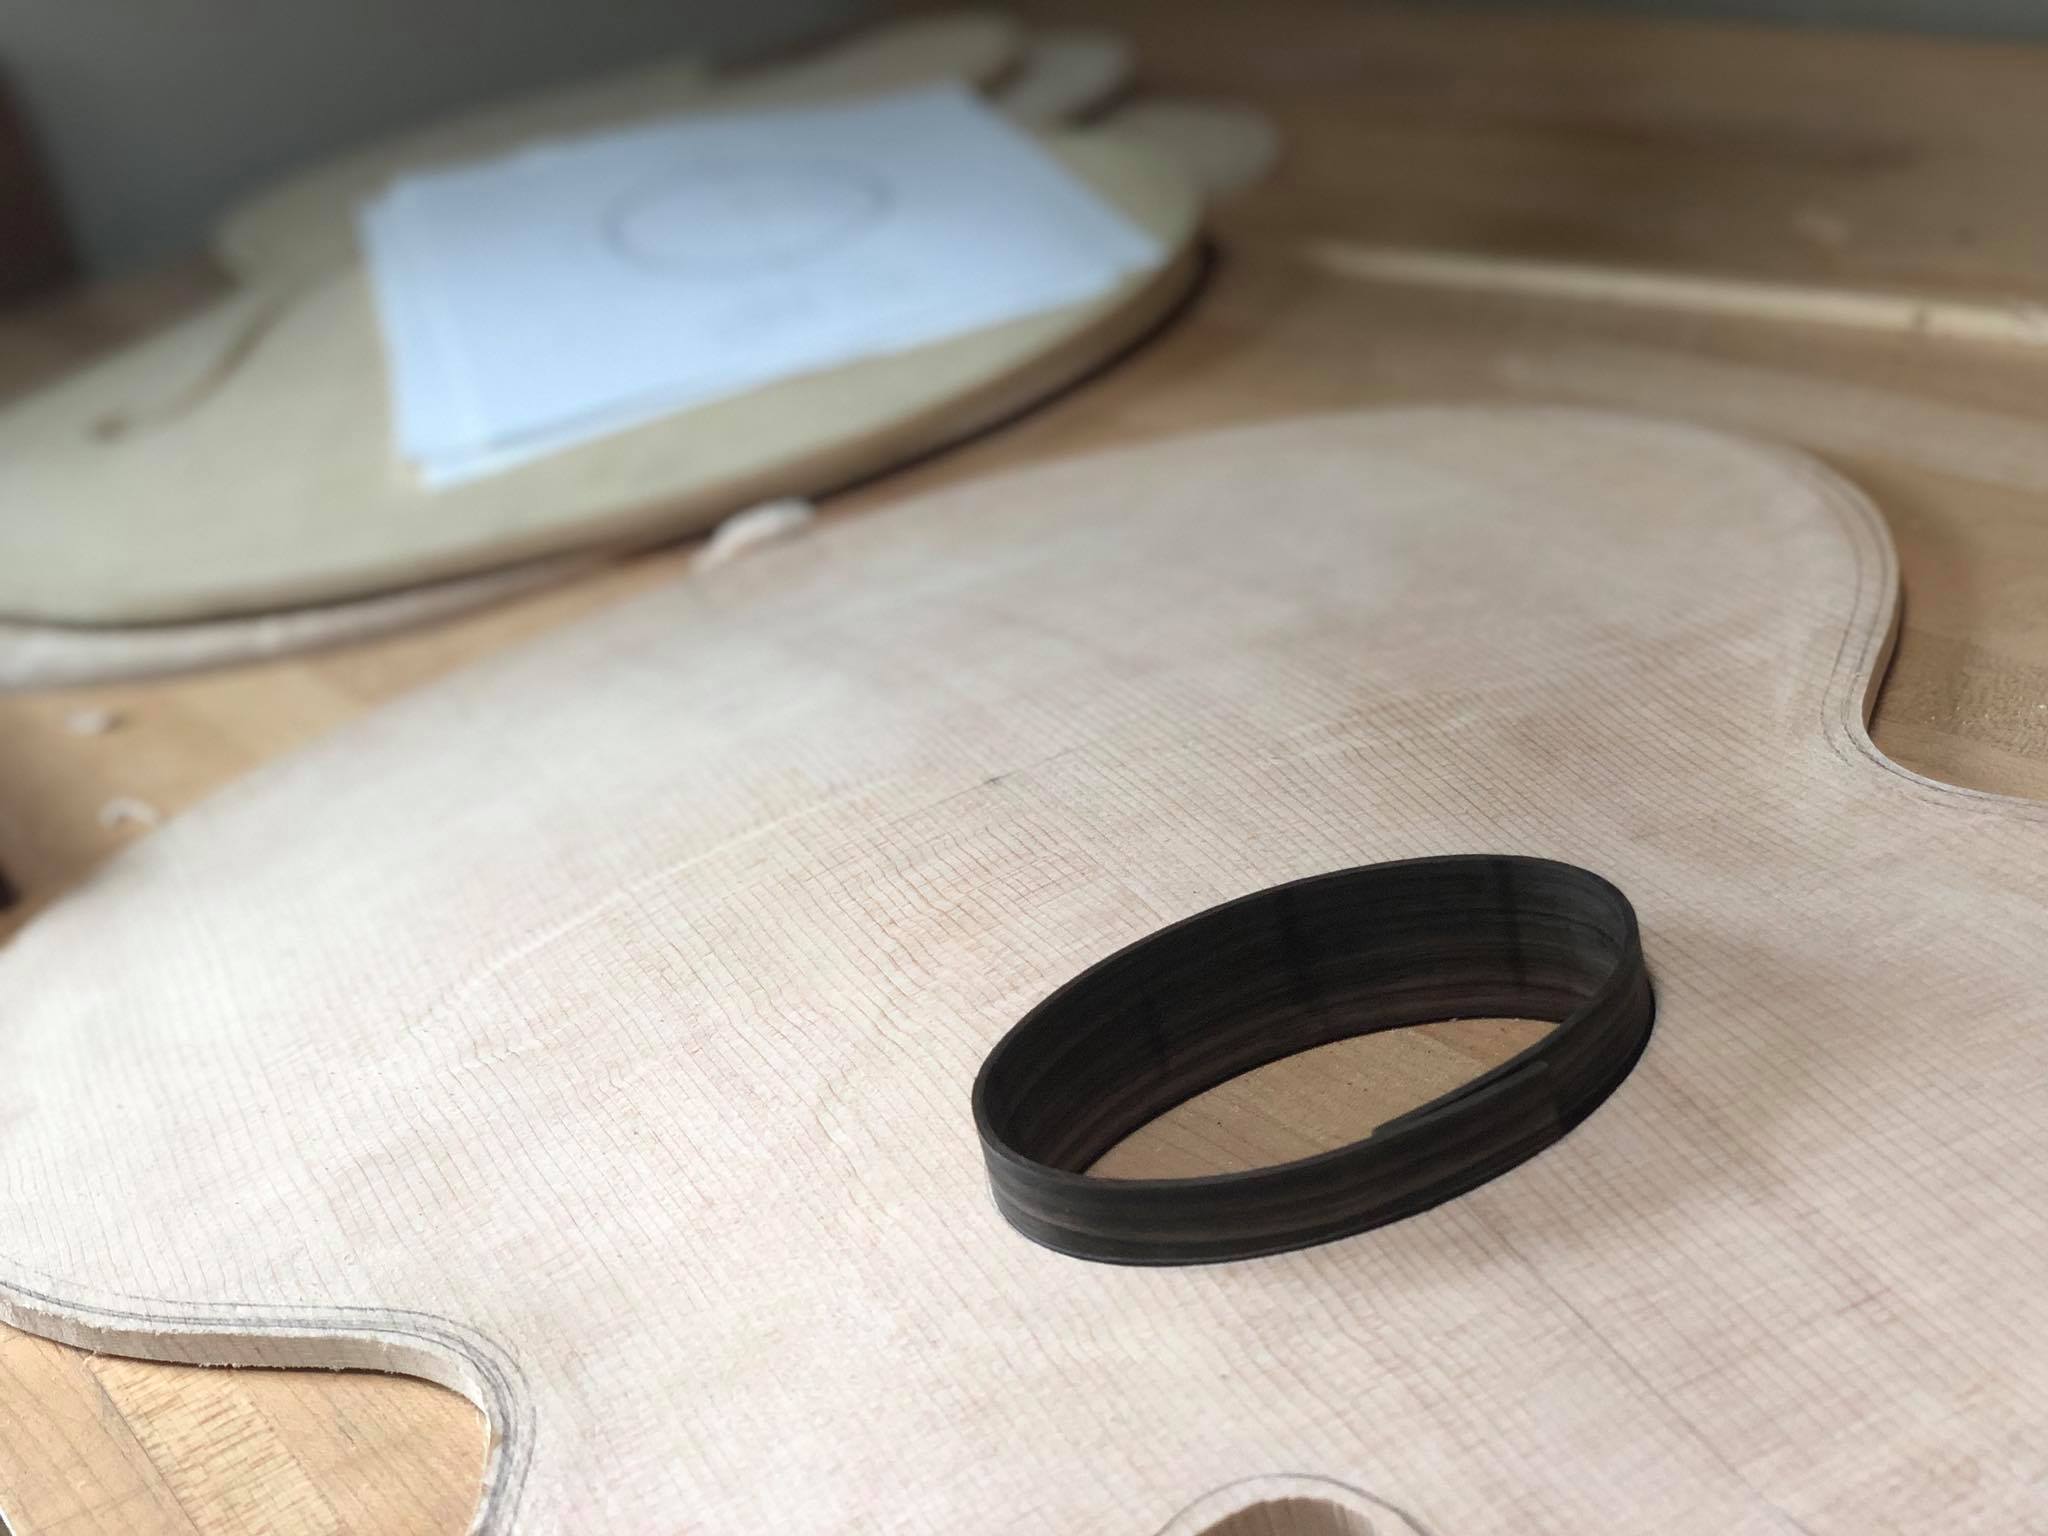
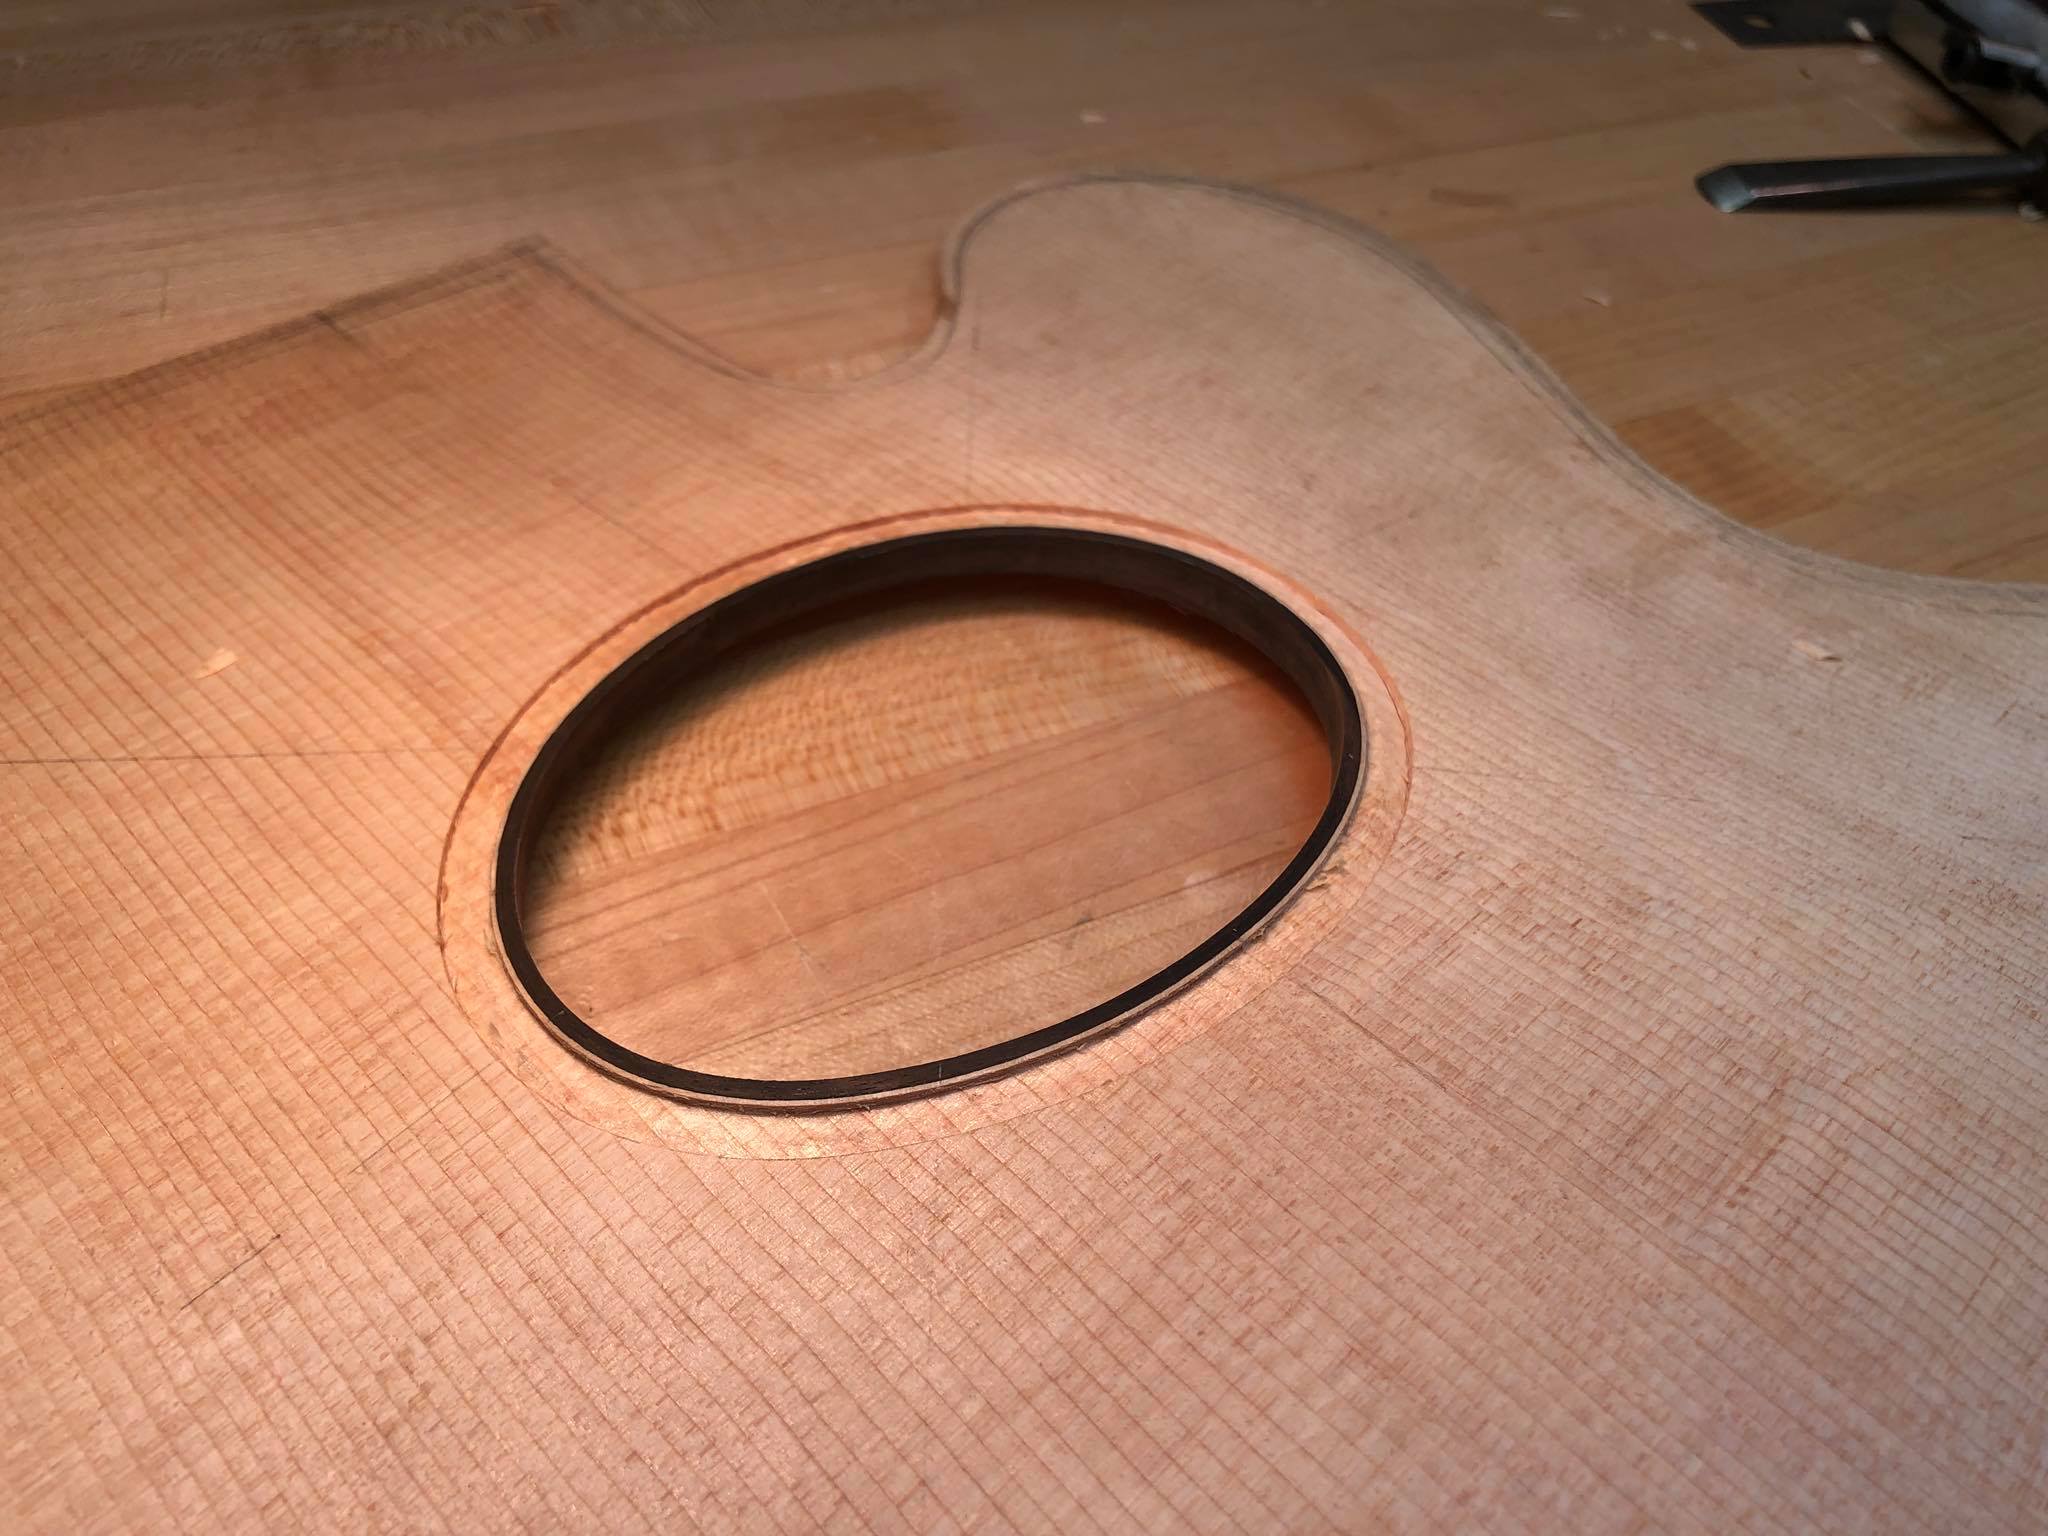
Ebony Ring bent and ready for glue
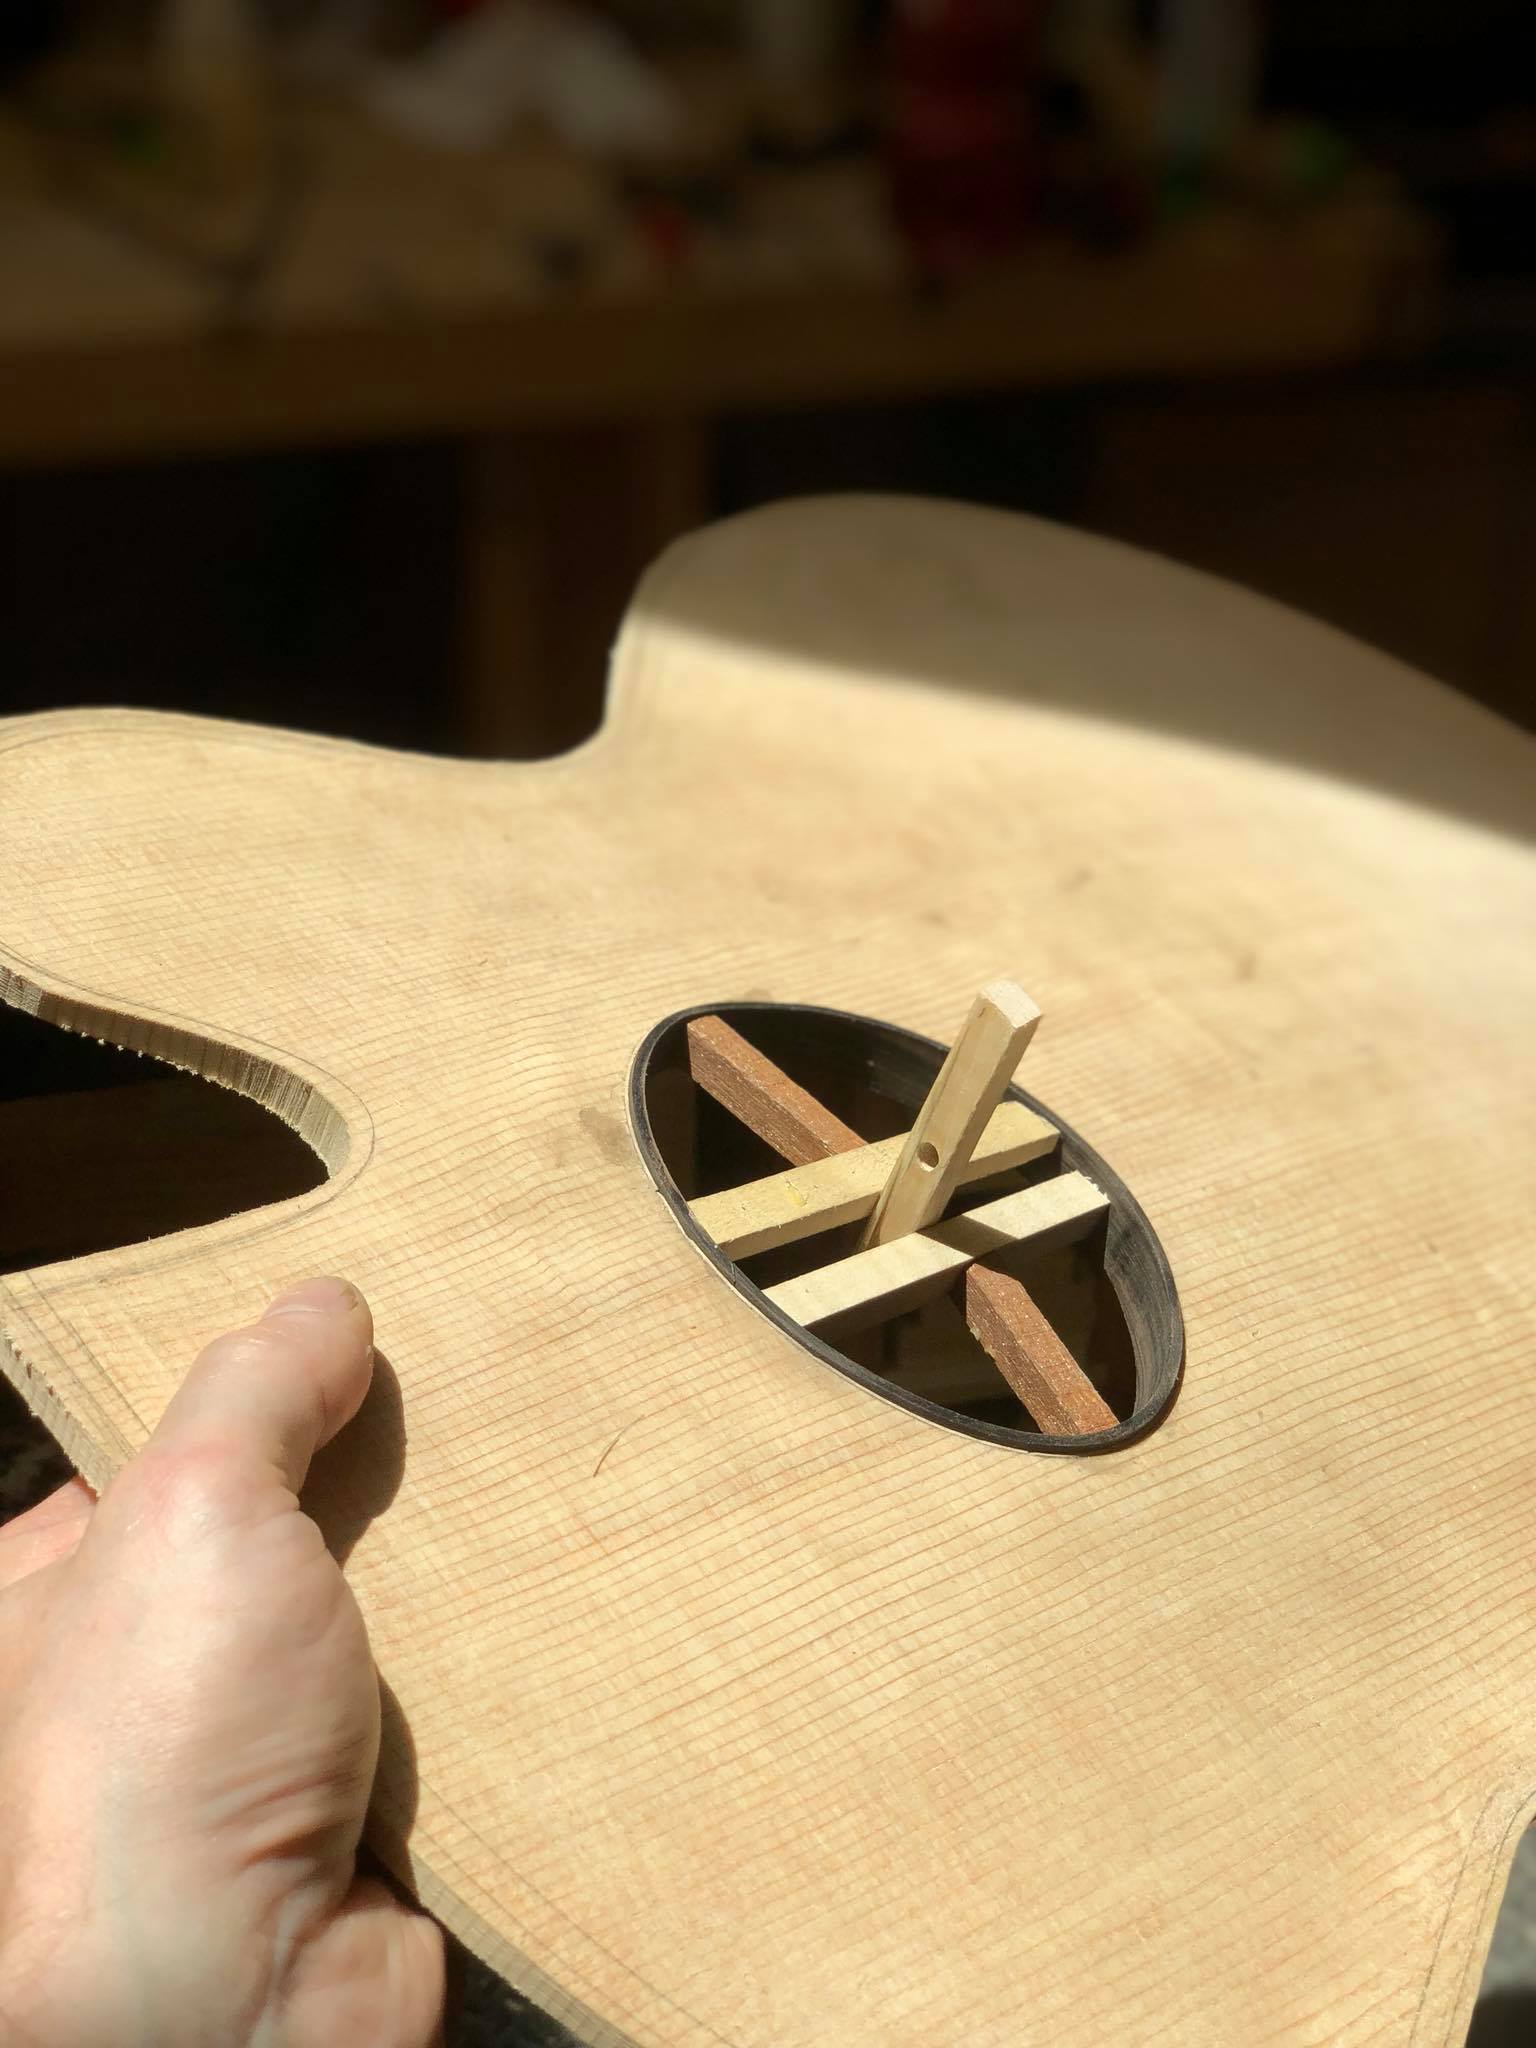
Wedges do most of the work to tighten up the ebony band.

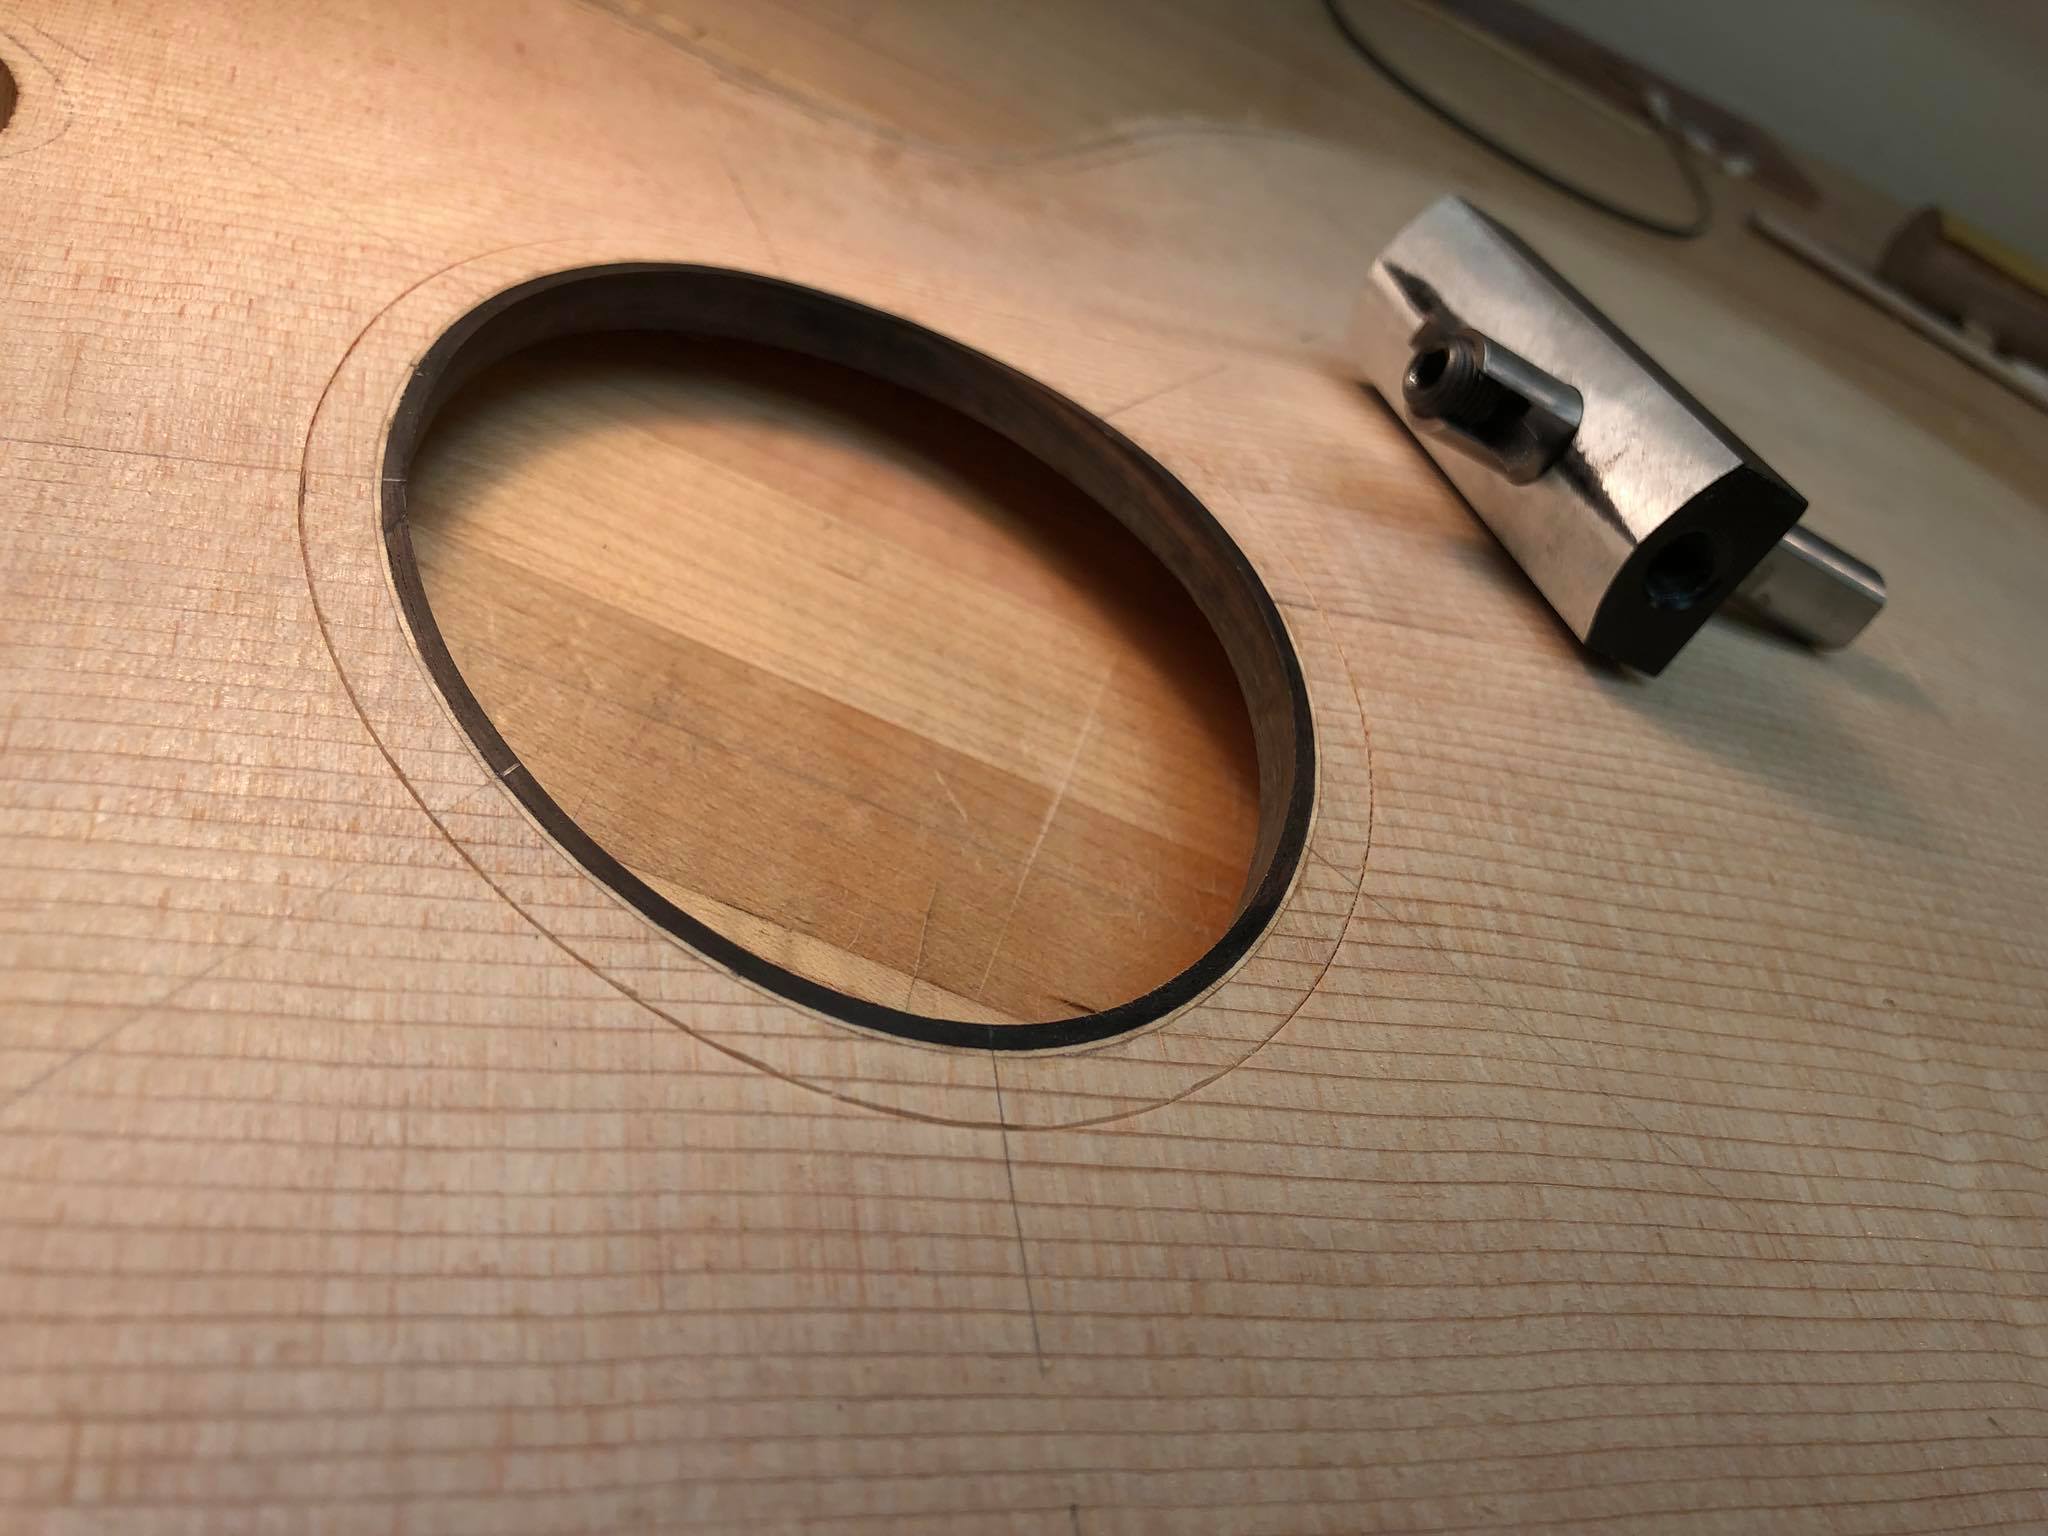
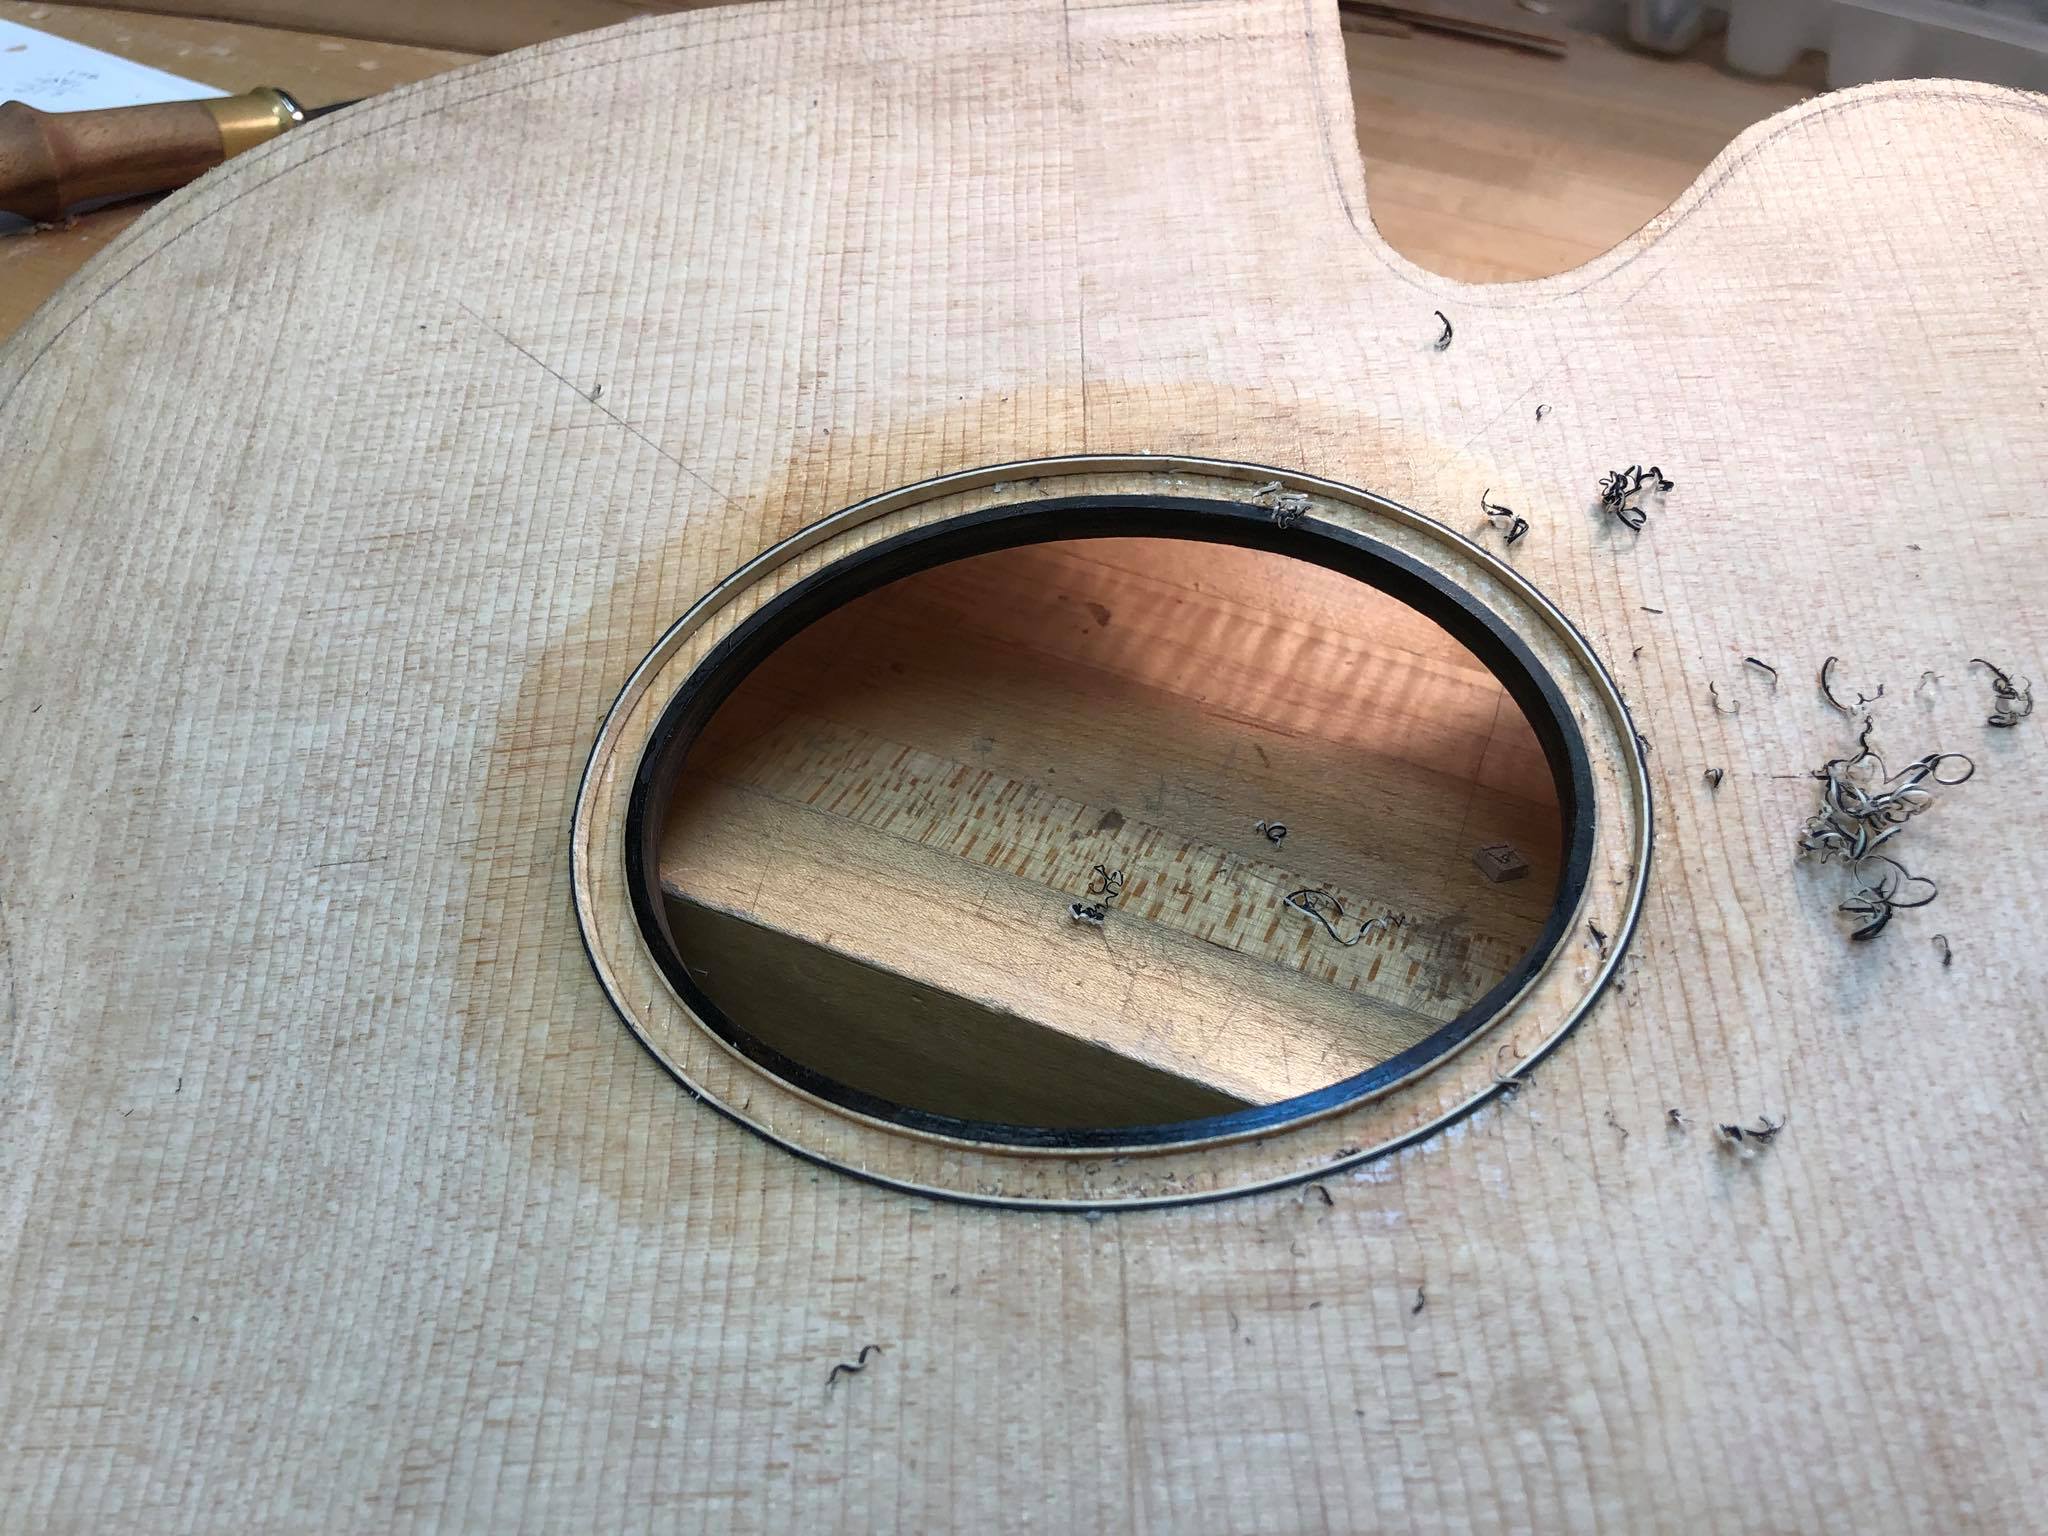
Cleaned up and ready for purfling cutter
Outer line cut to a depth low enough to glue pearl inlay (about .05″) Slow and steady wins this race!
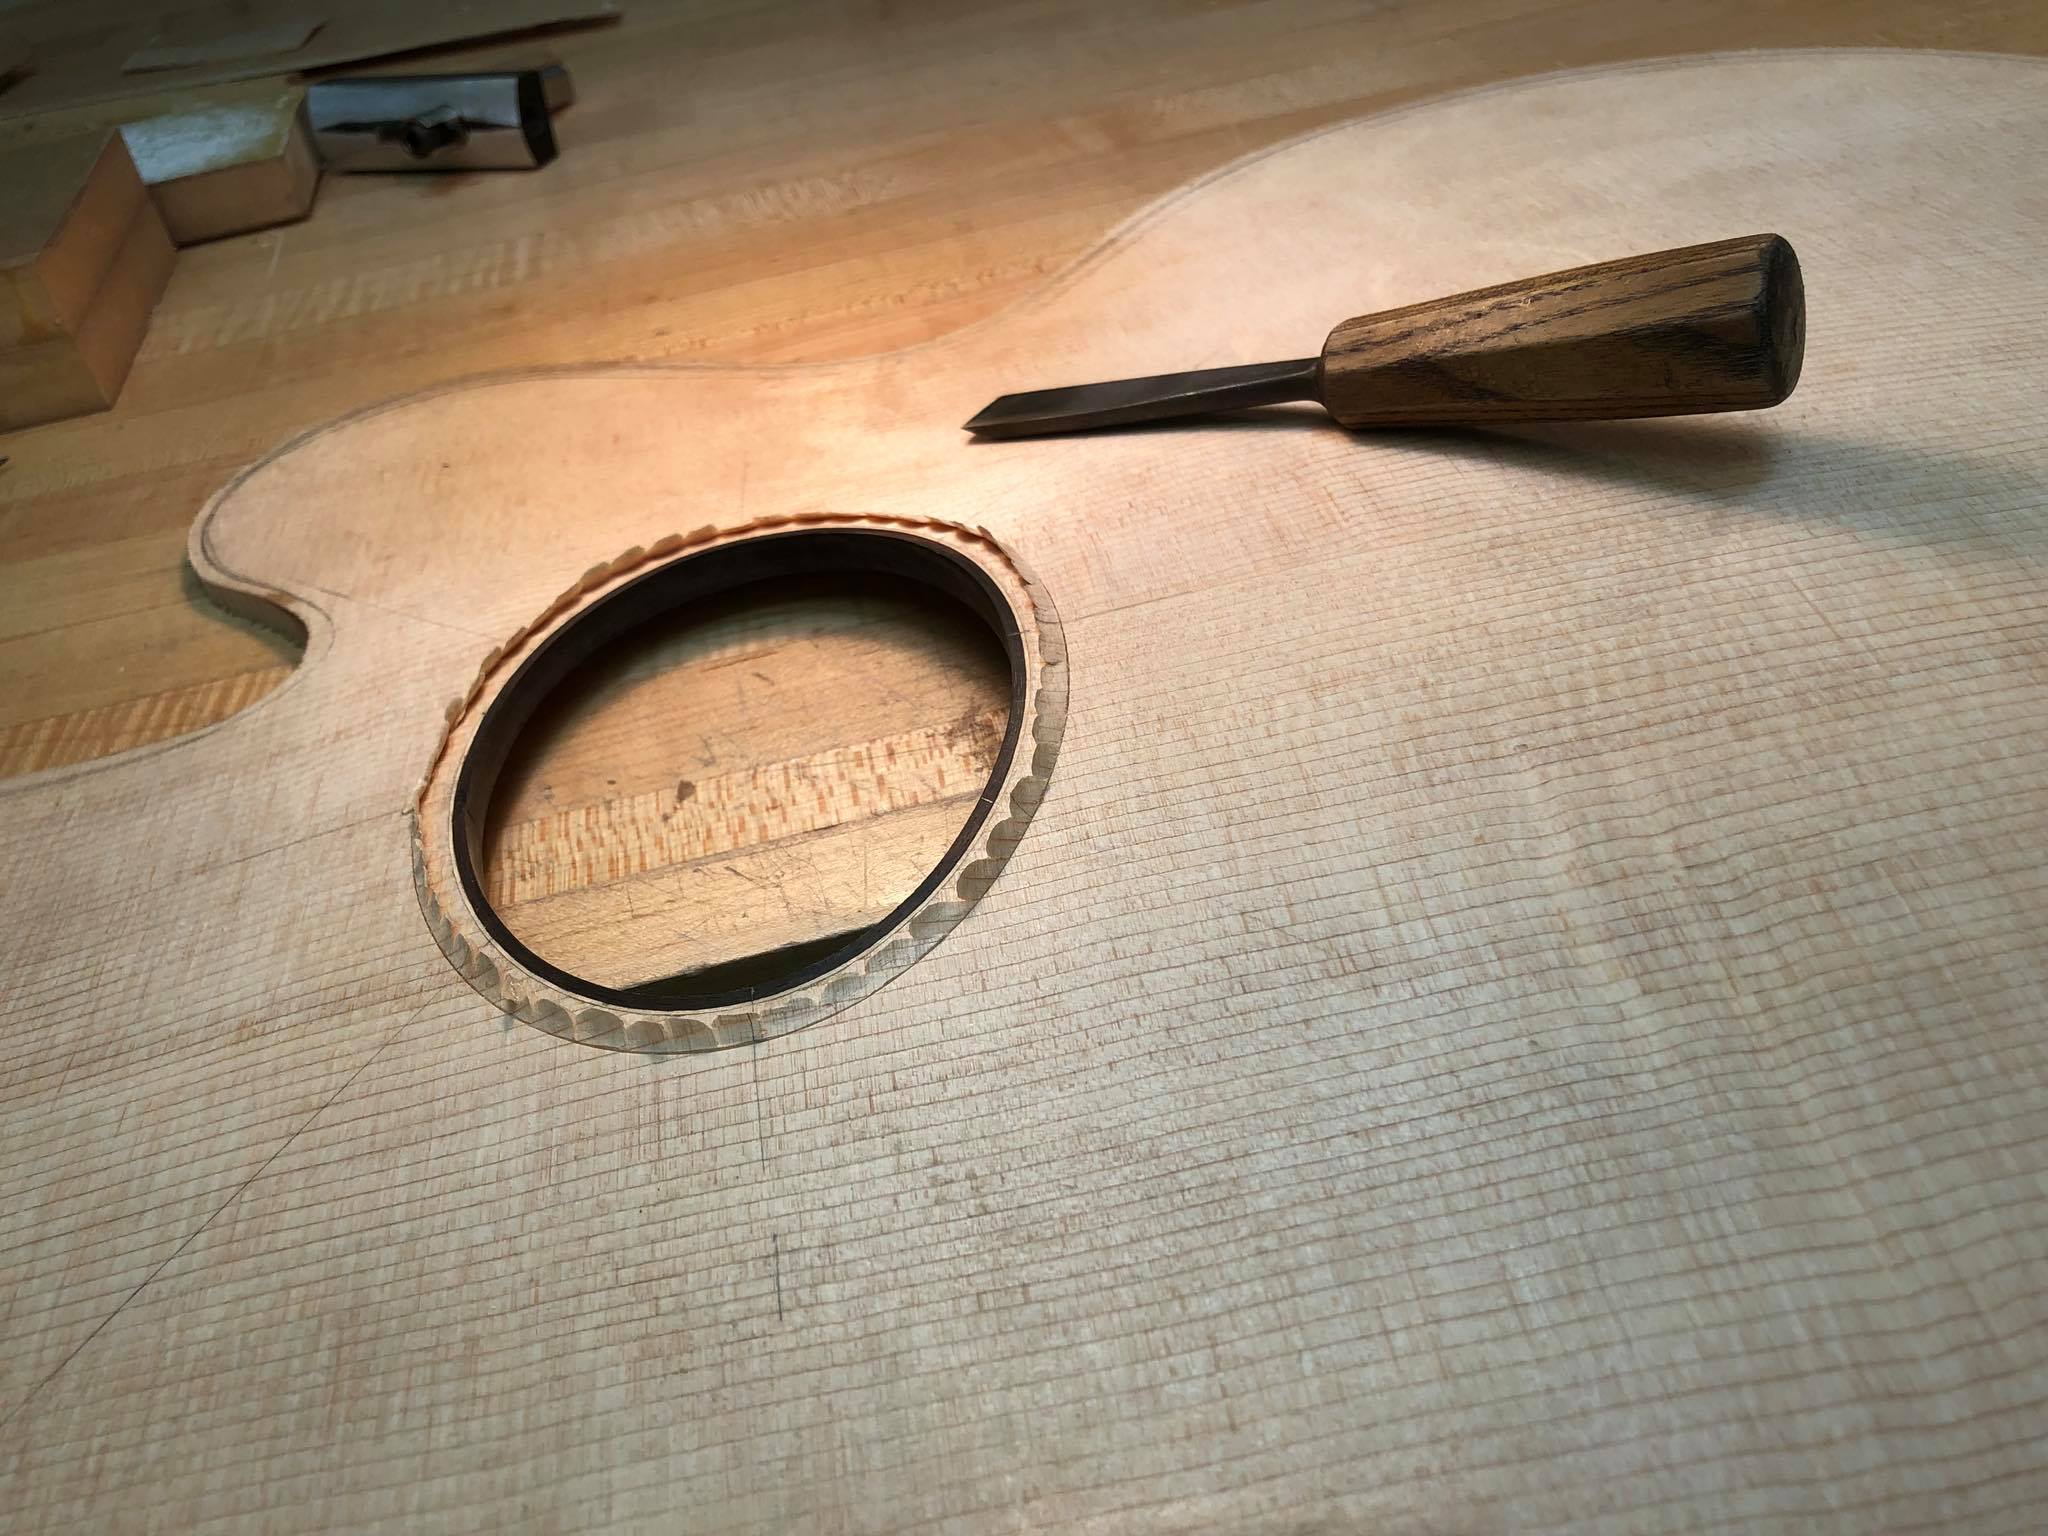
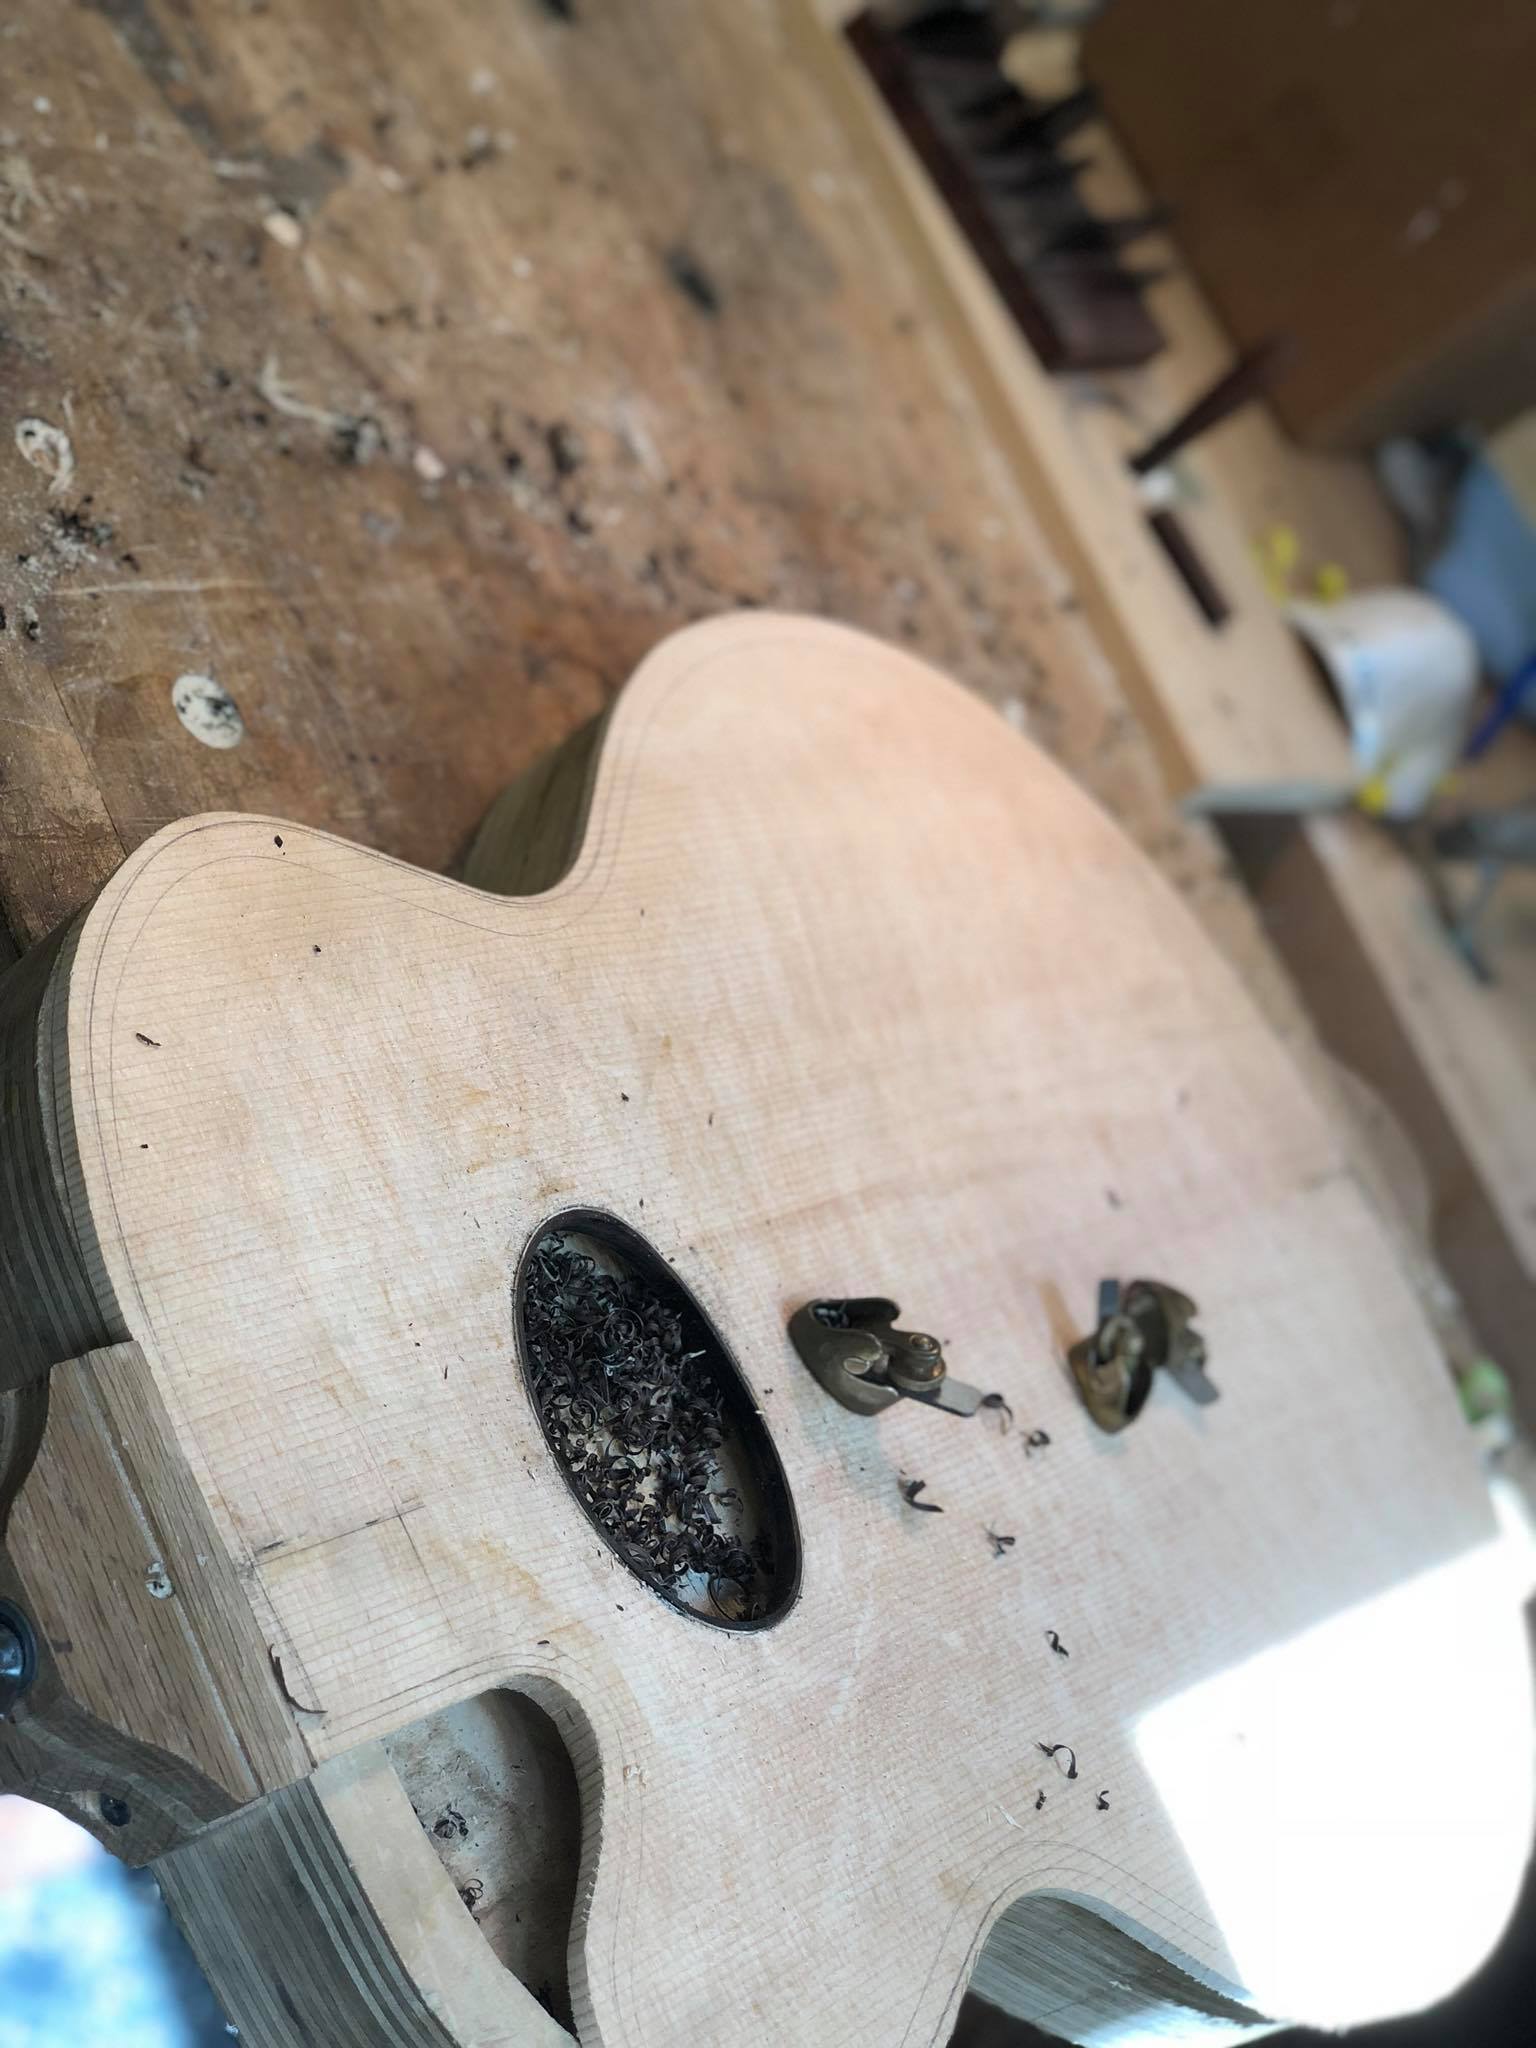
Careful evacuation of channel with a shallow gouge.
Channel cleaned up with bottom surface flat

Grain is sealed with shellac to prevent the wicking of superglue which will be used to adhere both the inlay and the stone
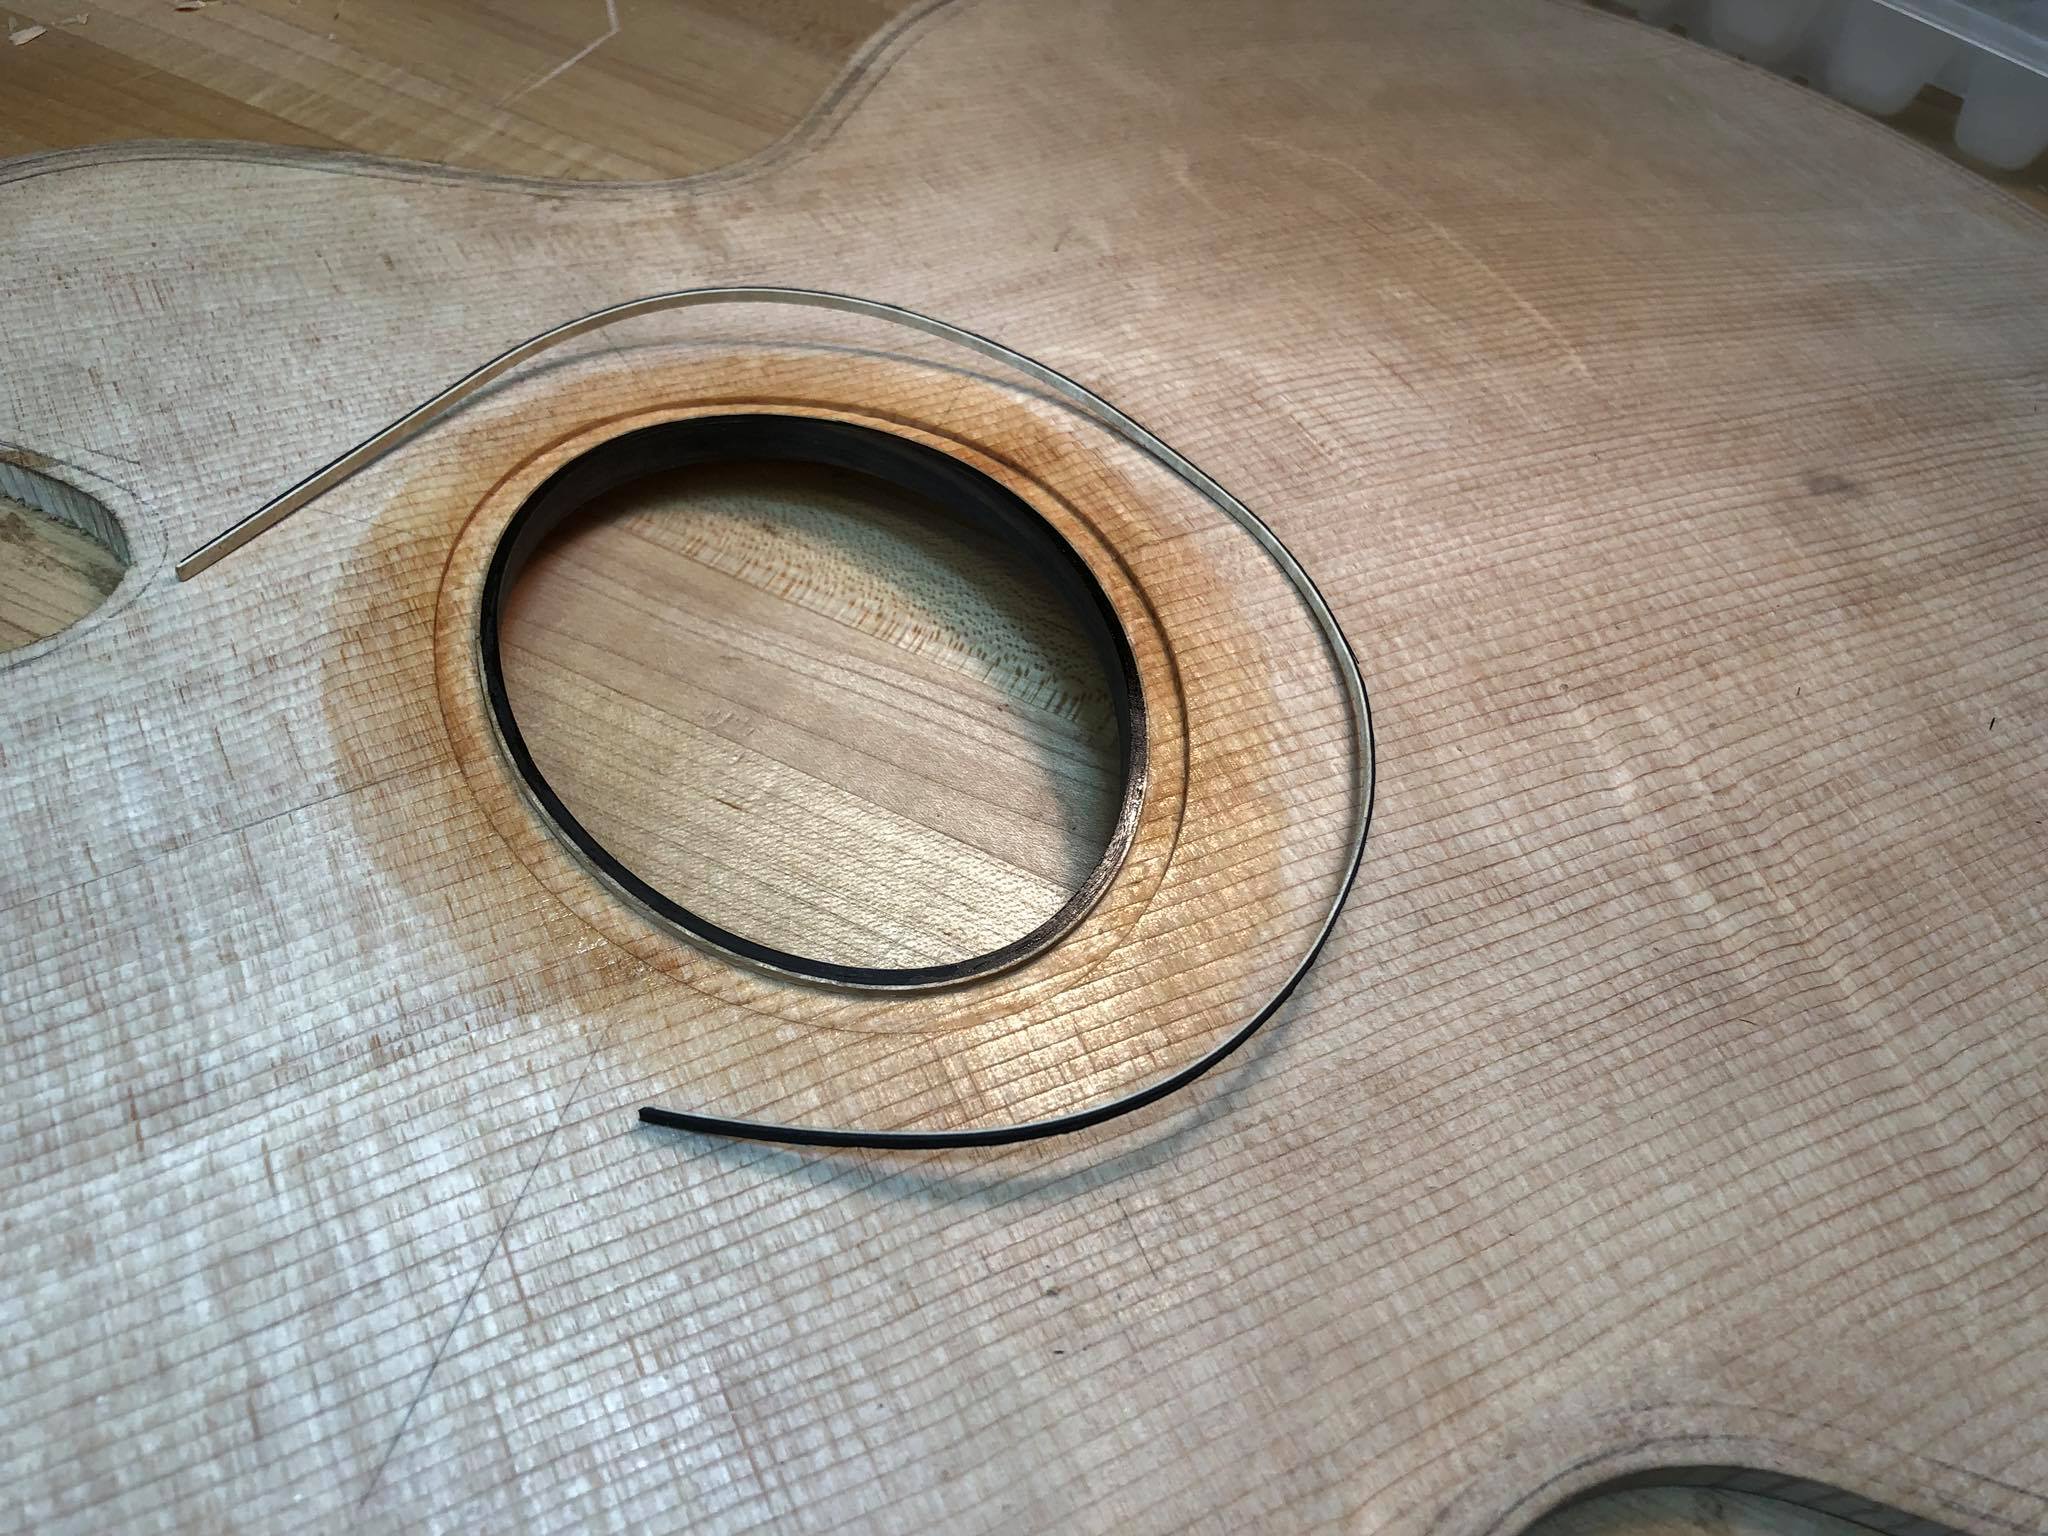
Outer purfling lines pre-bent and ready to glue around perimeter.

More wedges (lightly covered in wax) do the trick
Outer rings glued in place and cut flush
Cleaning up the bottom of the ebony ring before continuing (the top will be graduated after rosette is finished).

Prepping delicate weave inlay
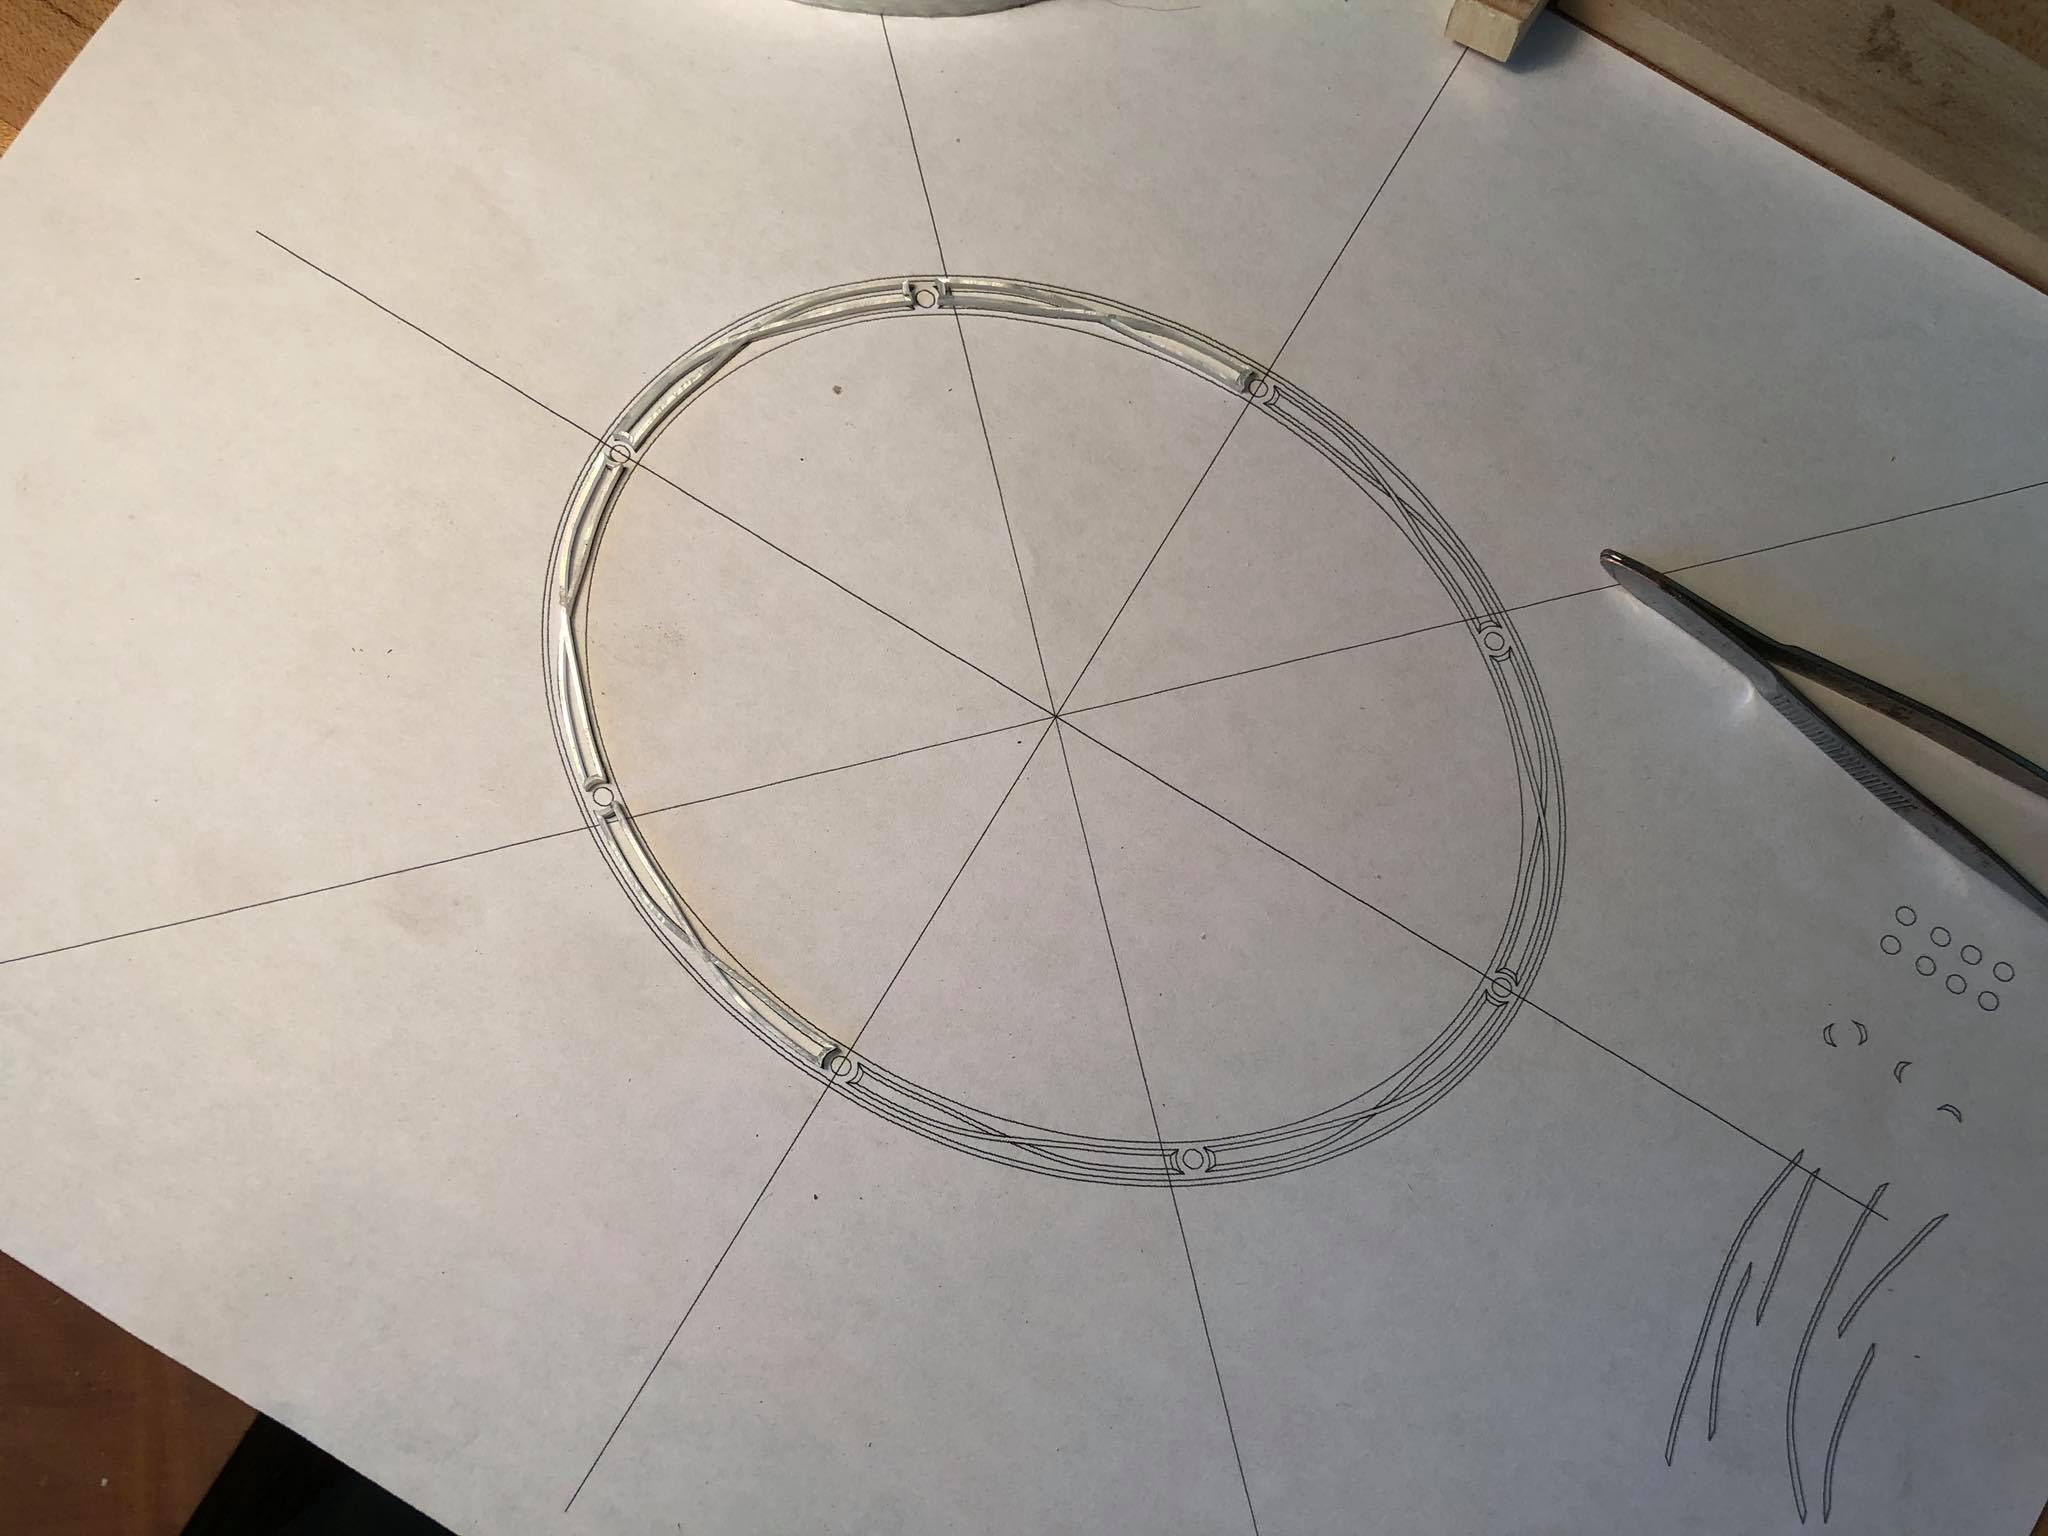
Half of the assembled weave and dots.

Here is a prior shot of the materials before the channel was cut, the inlay with the Lapis Lazuli stones.
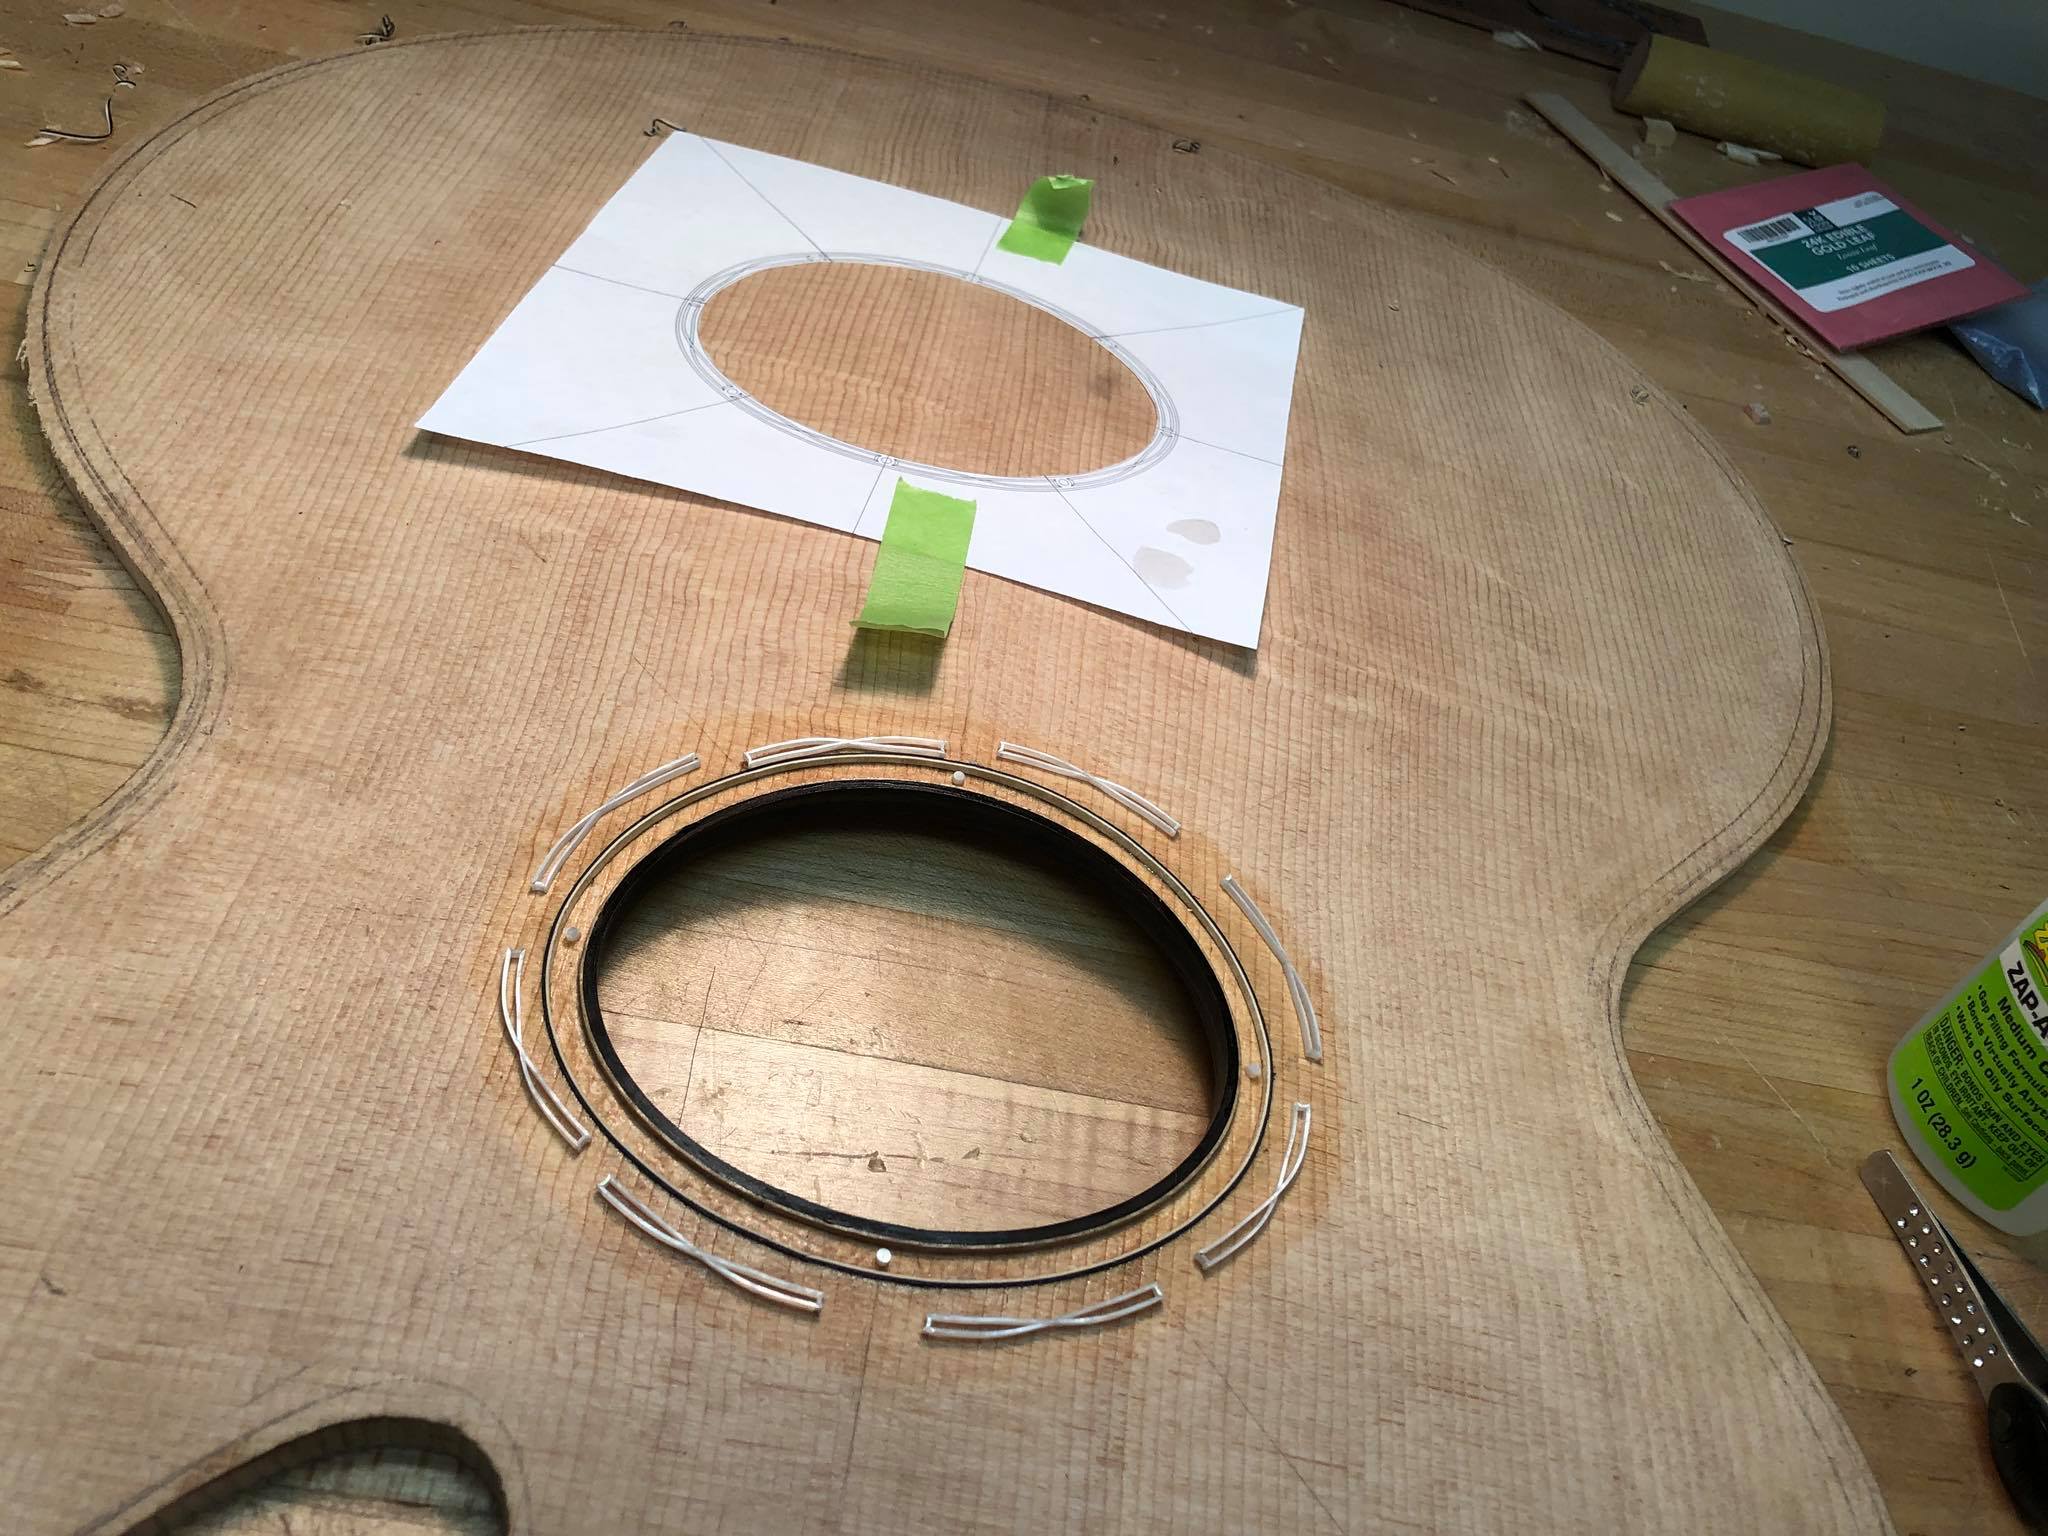
Inlay ready to be set in the channel
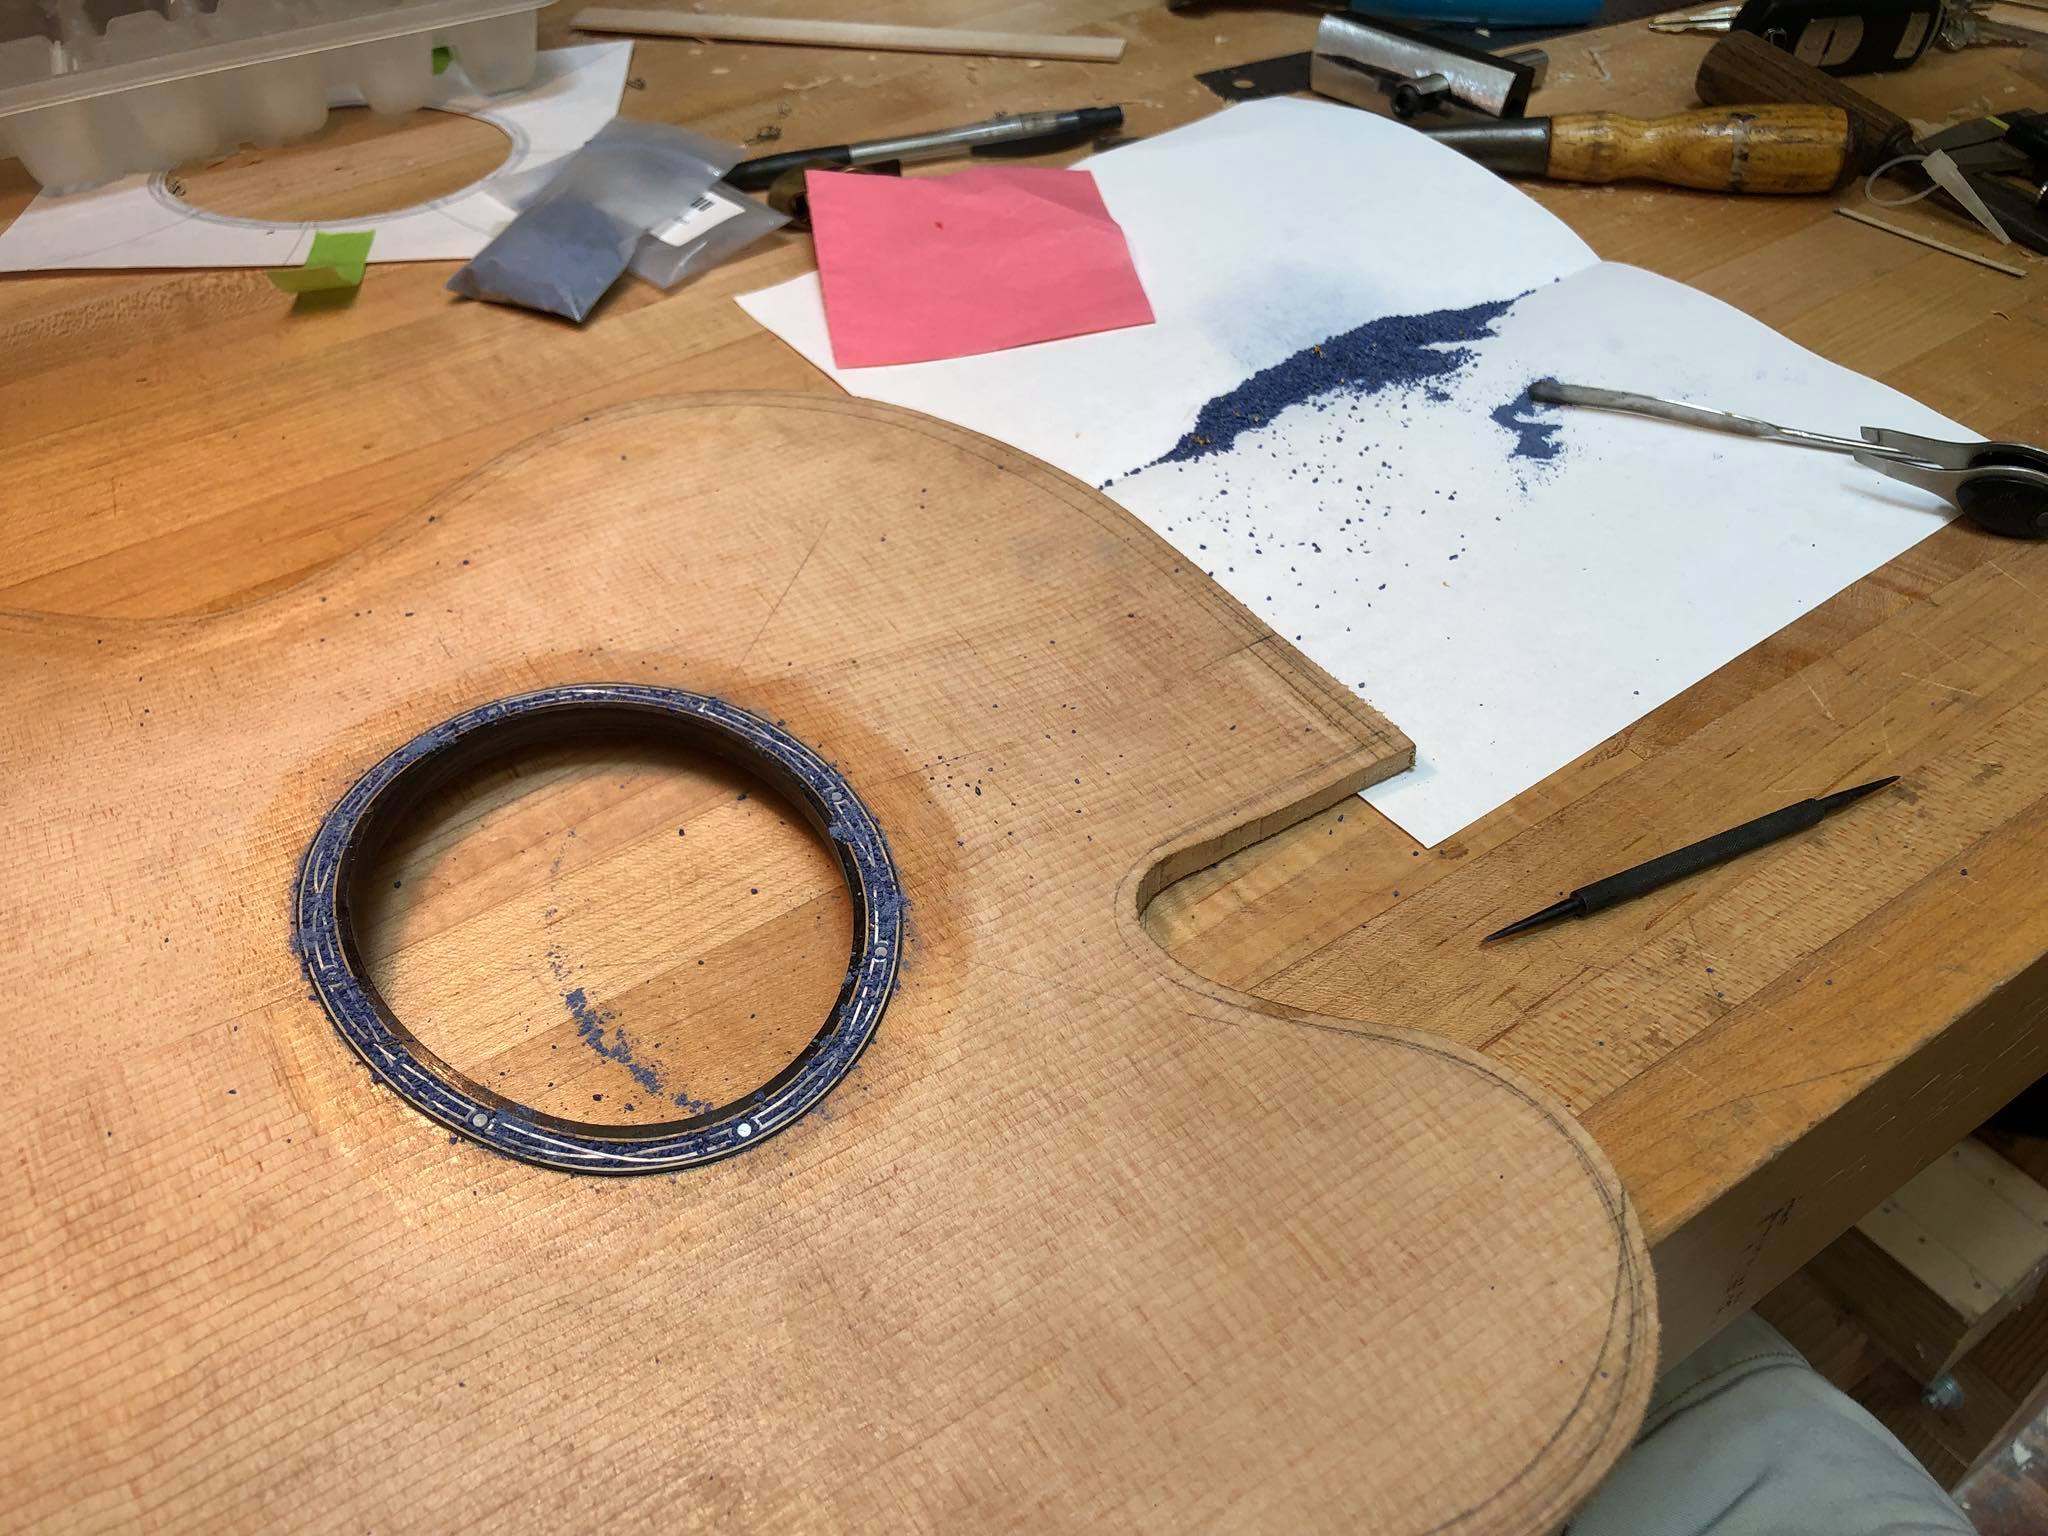
A mixture of coarse and fine crushed Lapis Lazuli stone mixed with a little gold flake gets packed into the negative spaces
…and then all is flooded with super glue
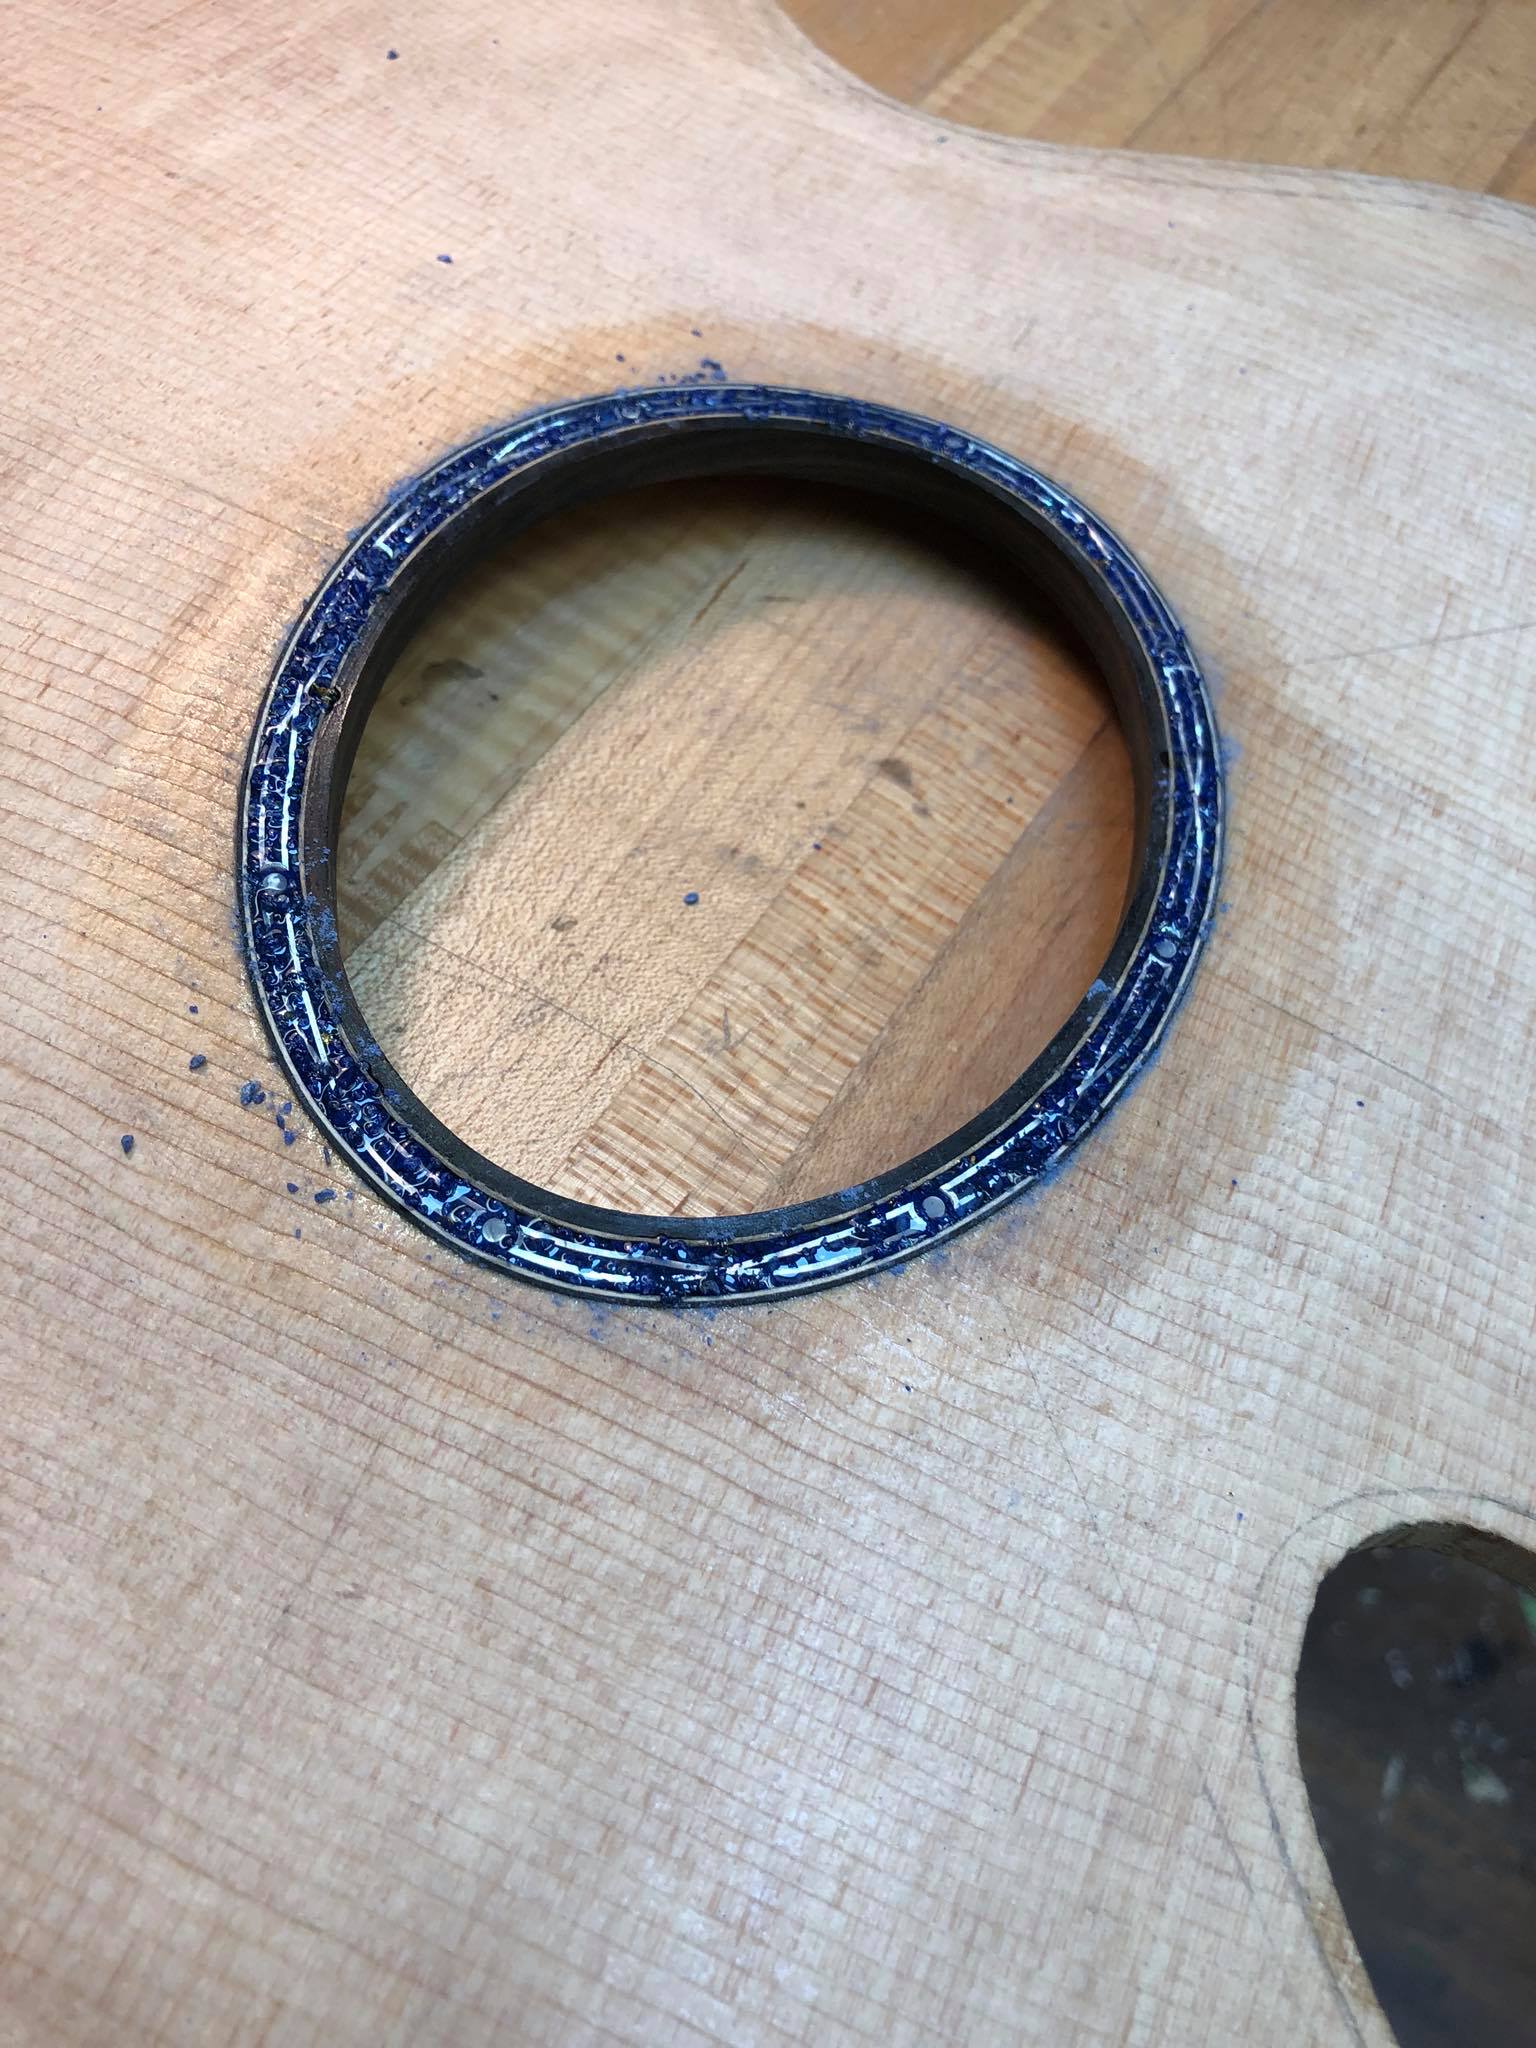
After a lot of sanding and grinding we have something that looks quite nice!

A little more sanding and polishing, it’s a difficult task having something so hard next to something so soft!
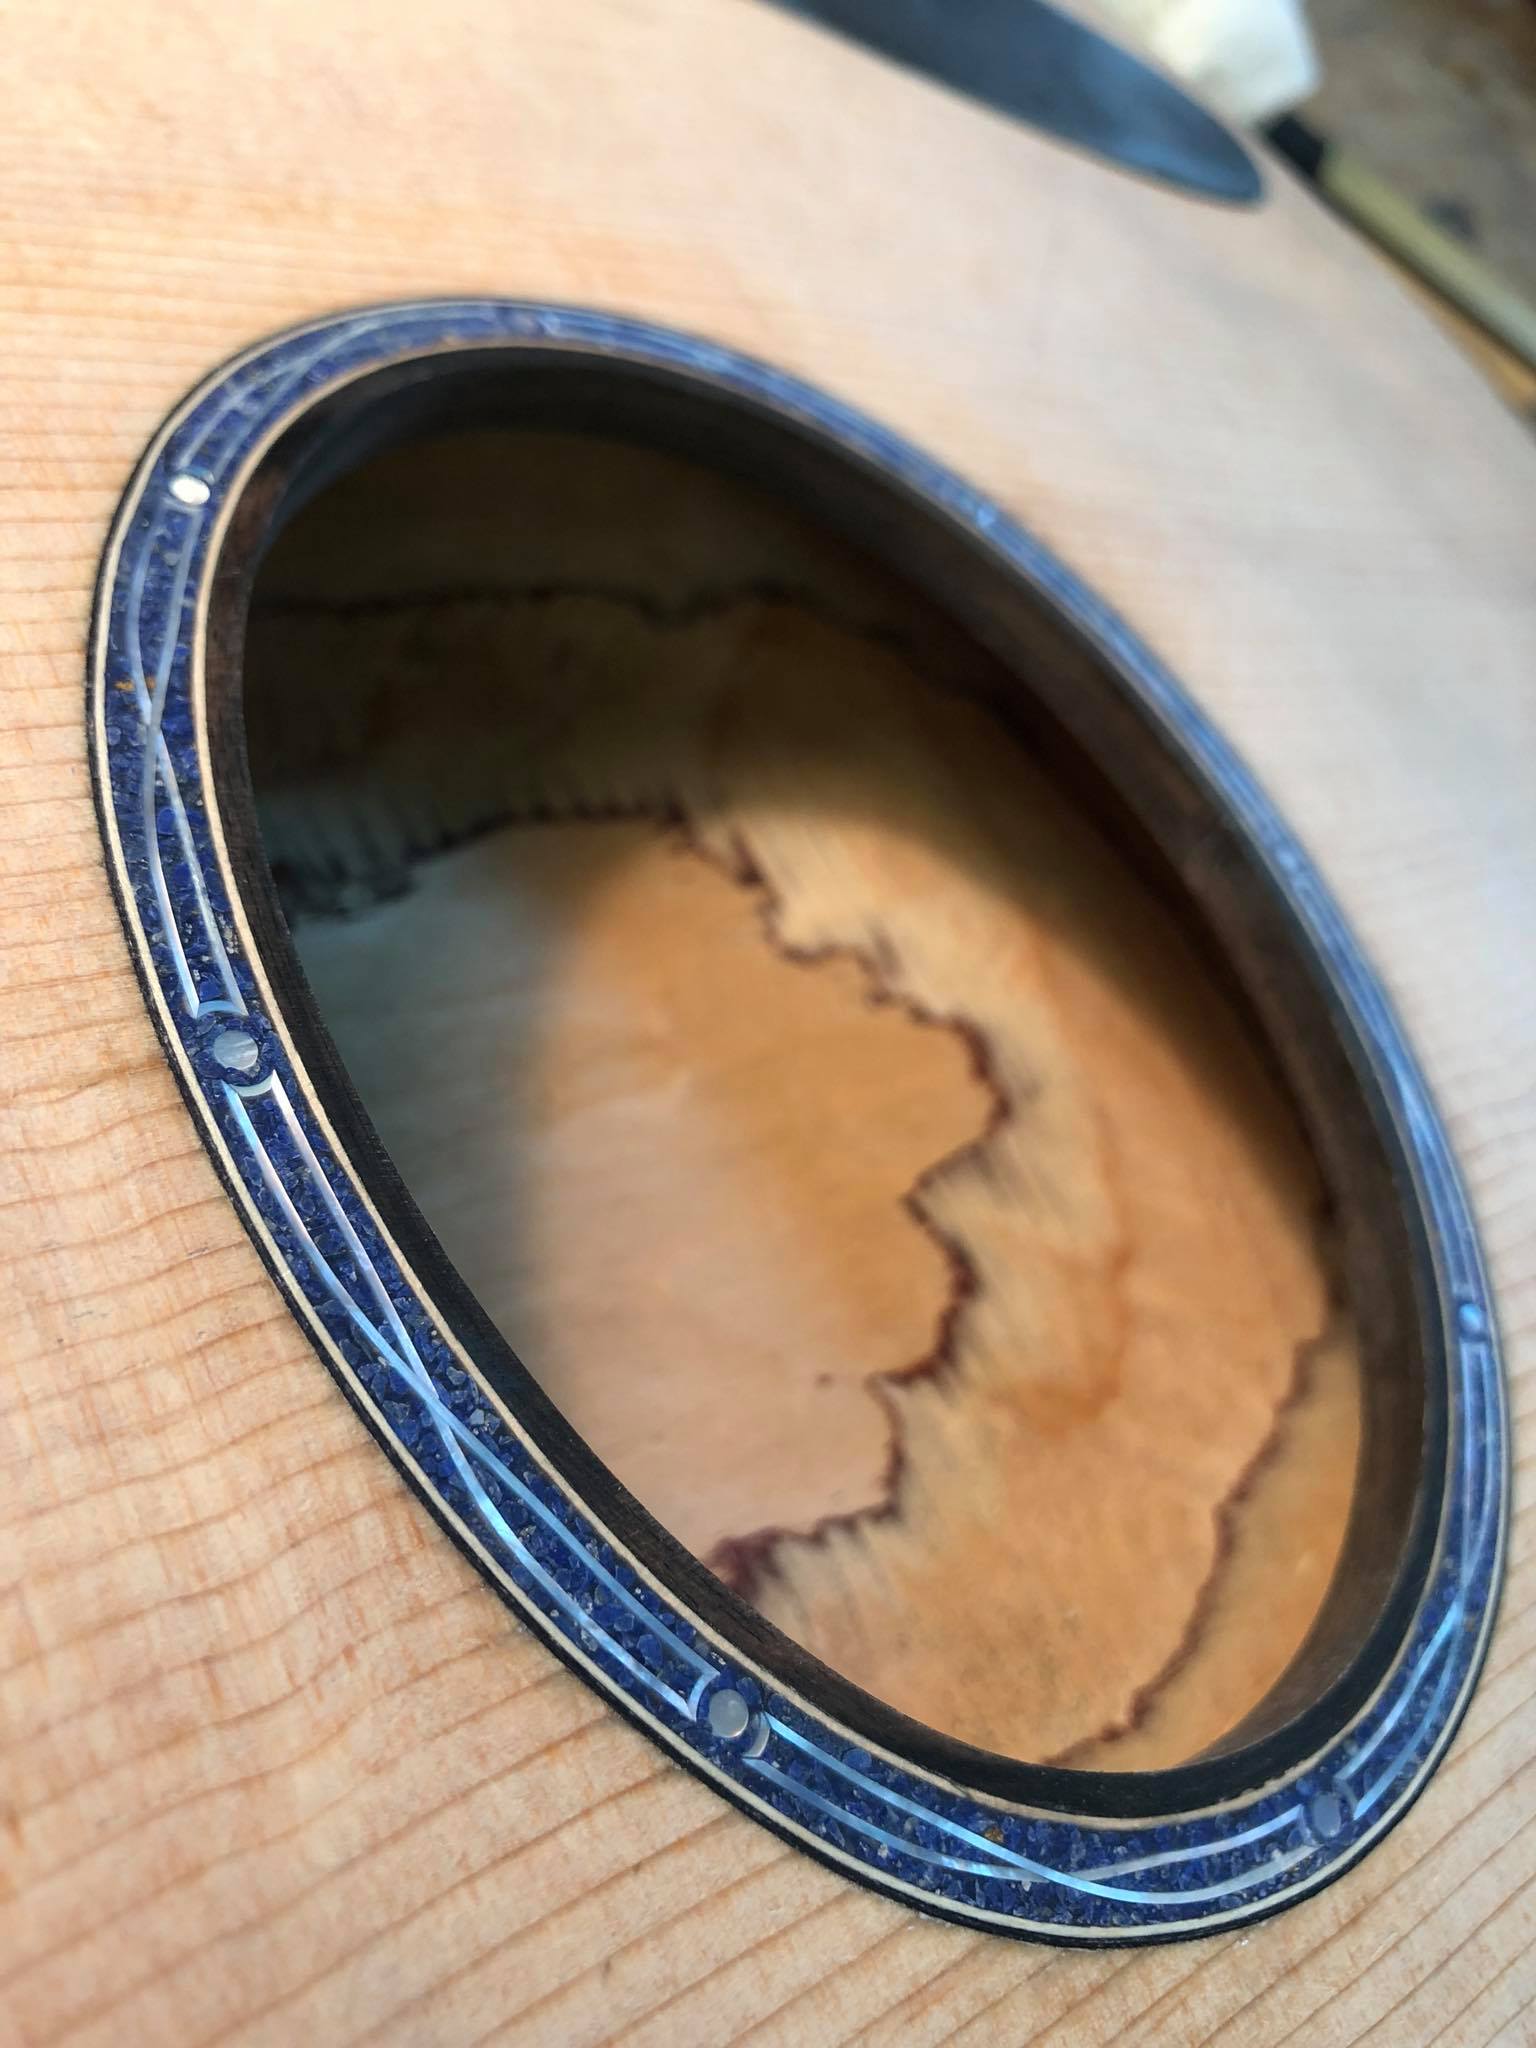
A nice closeup where the stone pieces show themselves.
Stay Connected